
I recently had the opportunity to take a sea ice safety course!
This was neat, because it’s a bit outside my general area of work. There’s plenty of different courses and training programs, but most are specifically for teams that use them in their day-to-day jobs.
It’s plausible that I’ll need to know this information, at least on background, but my job likely won’t have me actually putting it into practice.
The goal of the training was to familiarize us with how to evaluate the safety and stability of sea ice, specifically around cracks that form in the ice. It’s important to know how the cracks behave, and what parameters make it safe for vehicle travel and field work.
Sea ice around McMurdo is dynamic and constantly shifting. This means that areas which were safe at one point may no longer be safe, based on factors that are hard to predict.
As the ice shifts, cracks form. How the cracks behave is based on temperature, wind, currents, and several other factors.
If a crack grows too wide, it may not be safe for vehicles to cross. Different vehicles can safely cross different sized cracks. If the ice is too thin, or if the cracks form in certain patterns, it may also not be safe for vehicular travel.
There is a chart showing the minimum ice thickness and crack width for all the different vehicles in use around McMurdo. It’s cool to see a list of all the different types of vehicles in use, and it’s cool to know that the figures have been refined over decades of field work.
I won’t get into the technical details, because I’m coming from a one-day course. There are teams at McMurdo who work on this as their primary jobs, and there is an entire body of knowledge and documentation on the topic that has been developed over decades of doing this type of work.
Our vehicles for the day were Hagglunds.

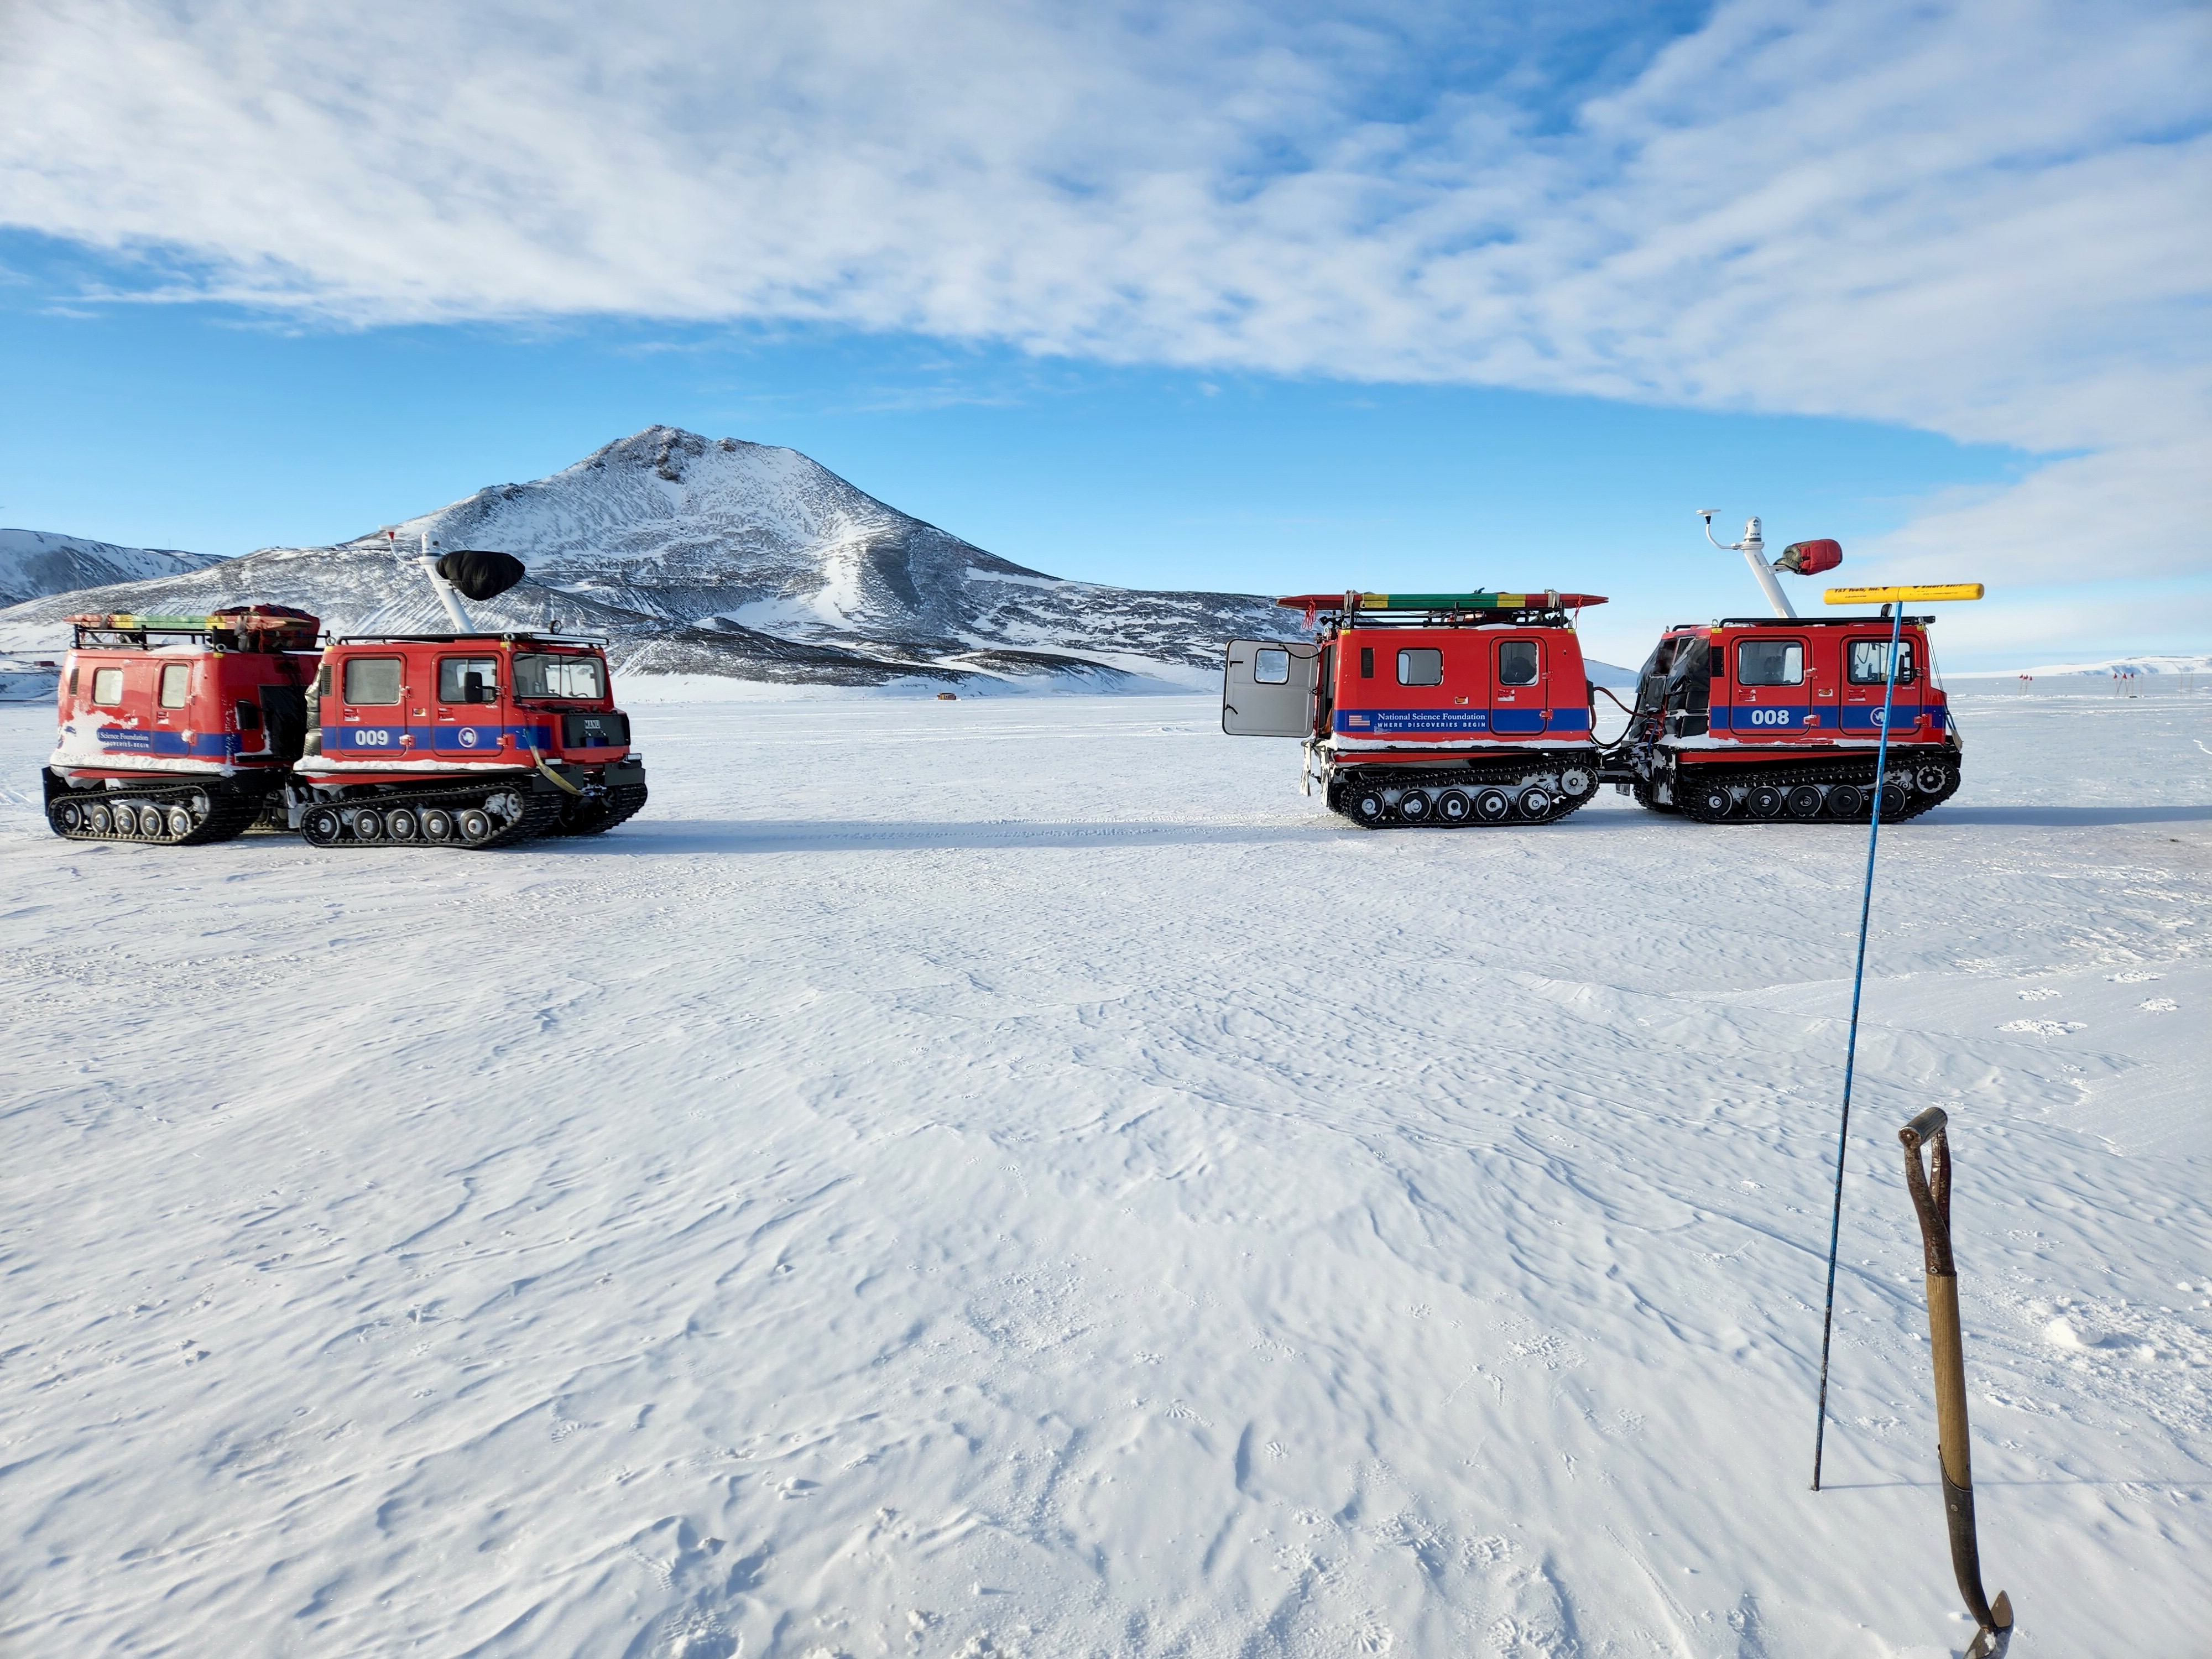
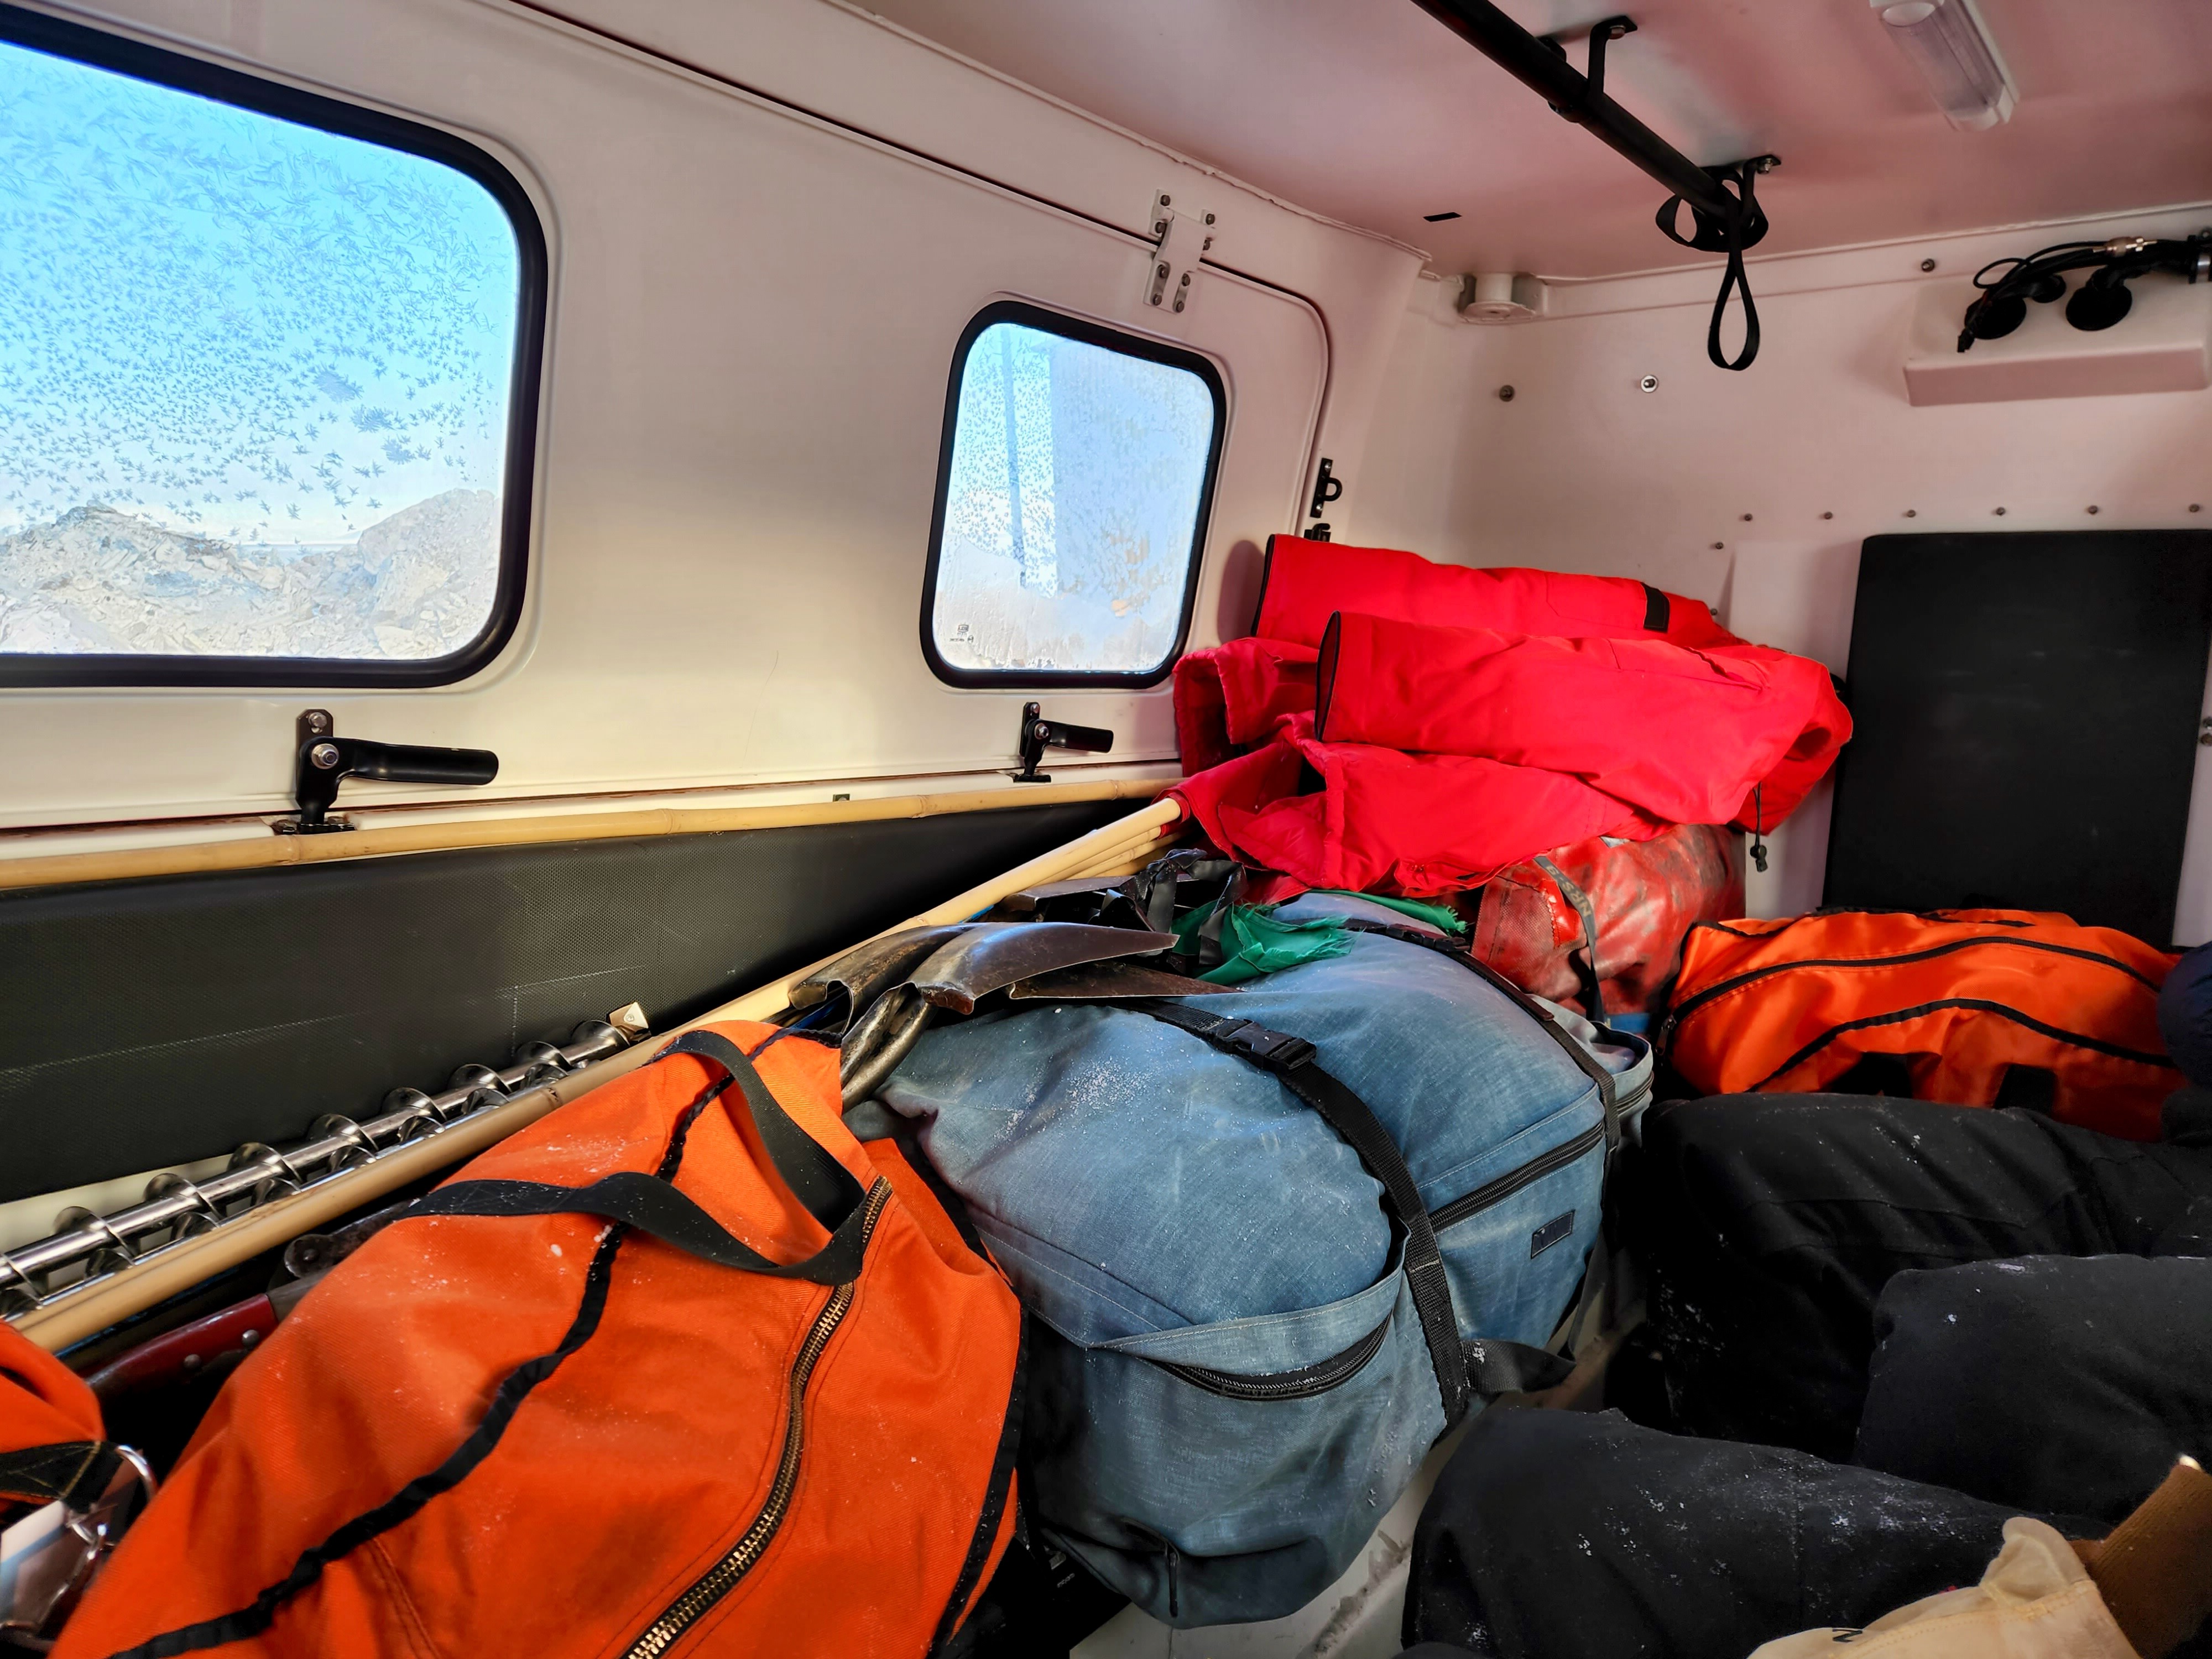
These tracked vehicles can carry a handful of people, some up front:

And more riding in the cargo area:
The weather was perfect – clear and cold, with temperatures around -10°F.
We loaded up and drove out of town:
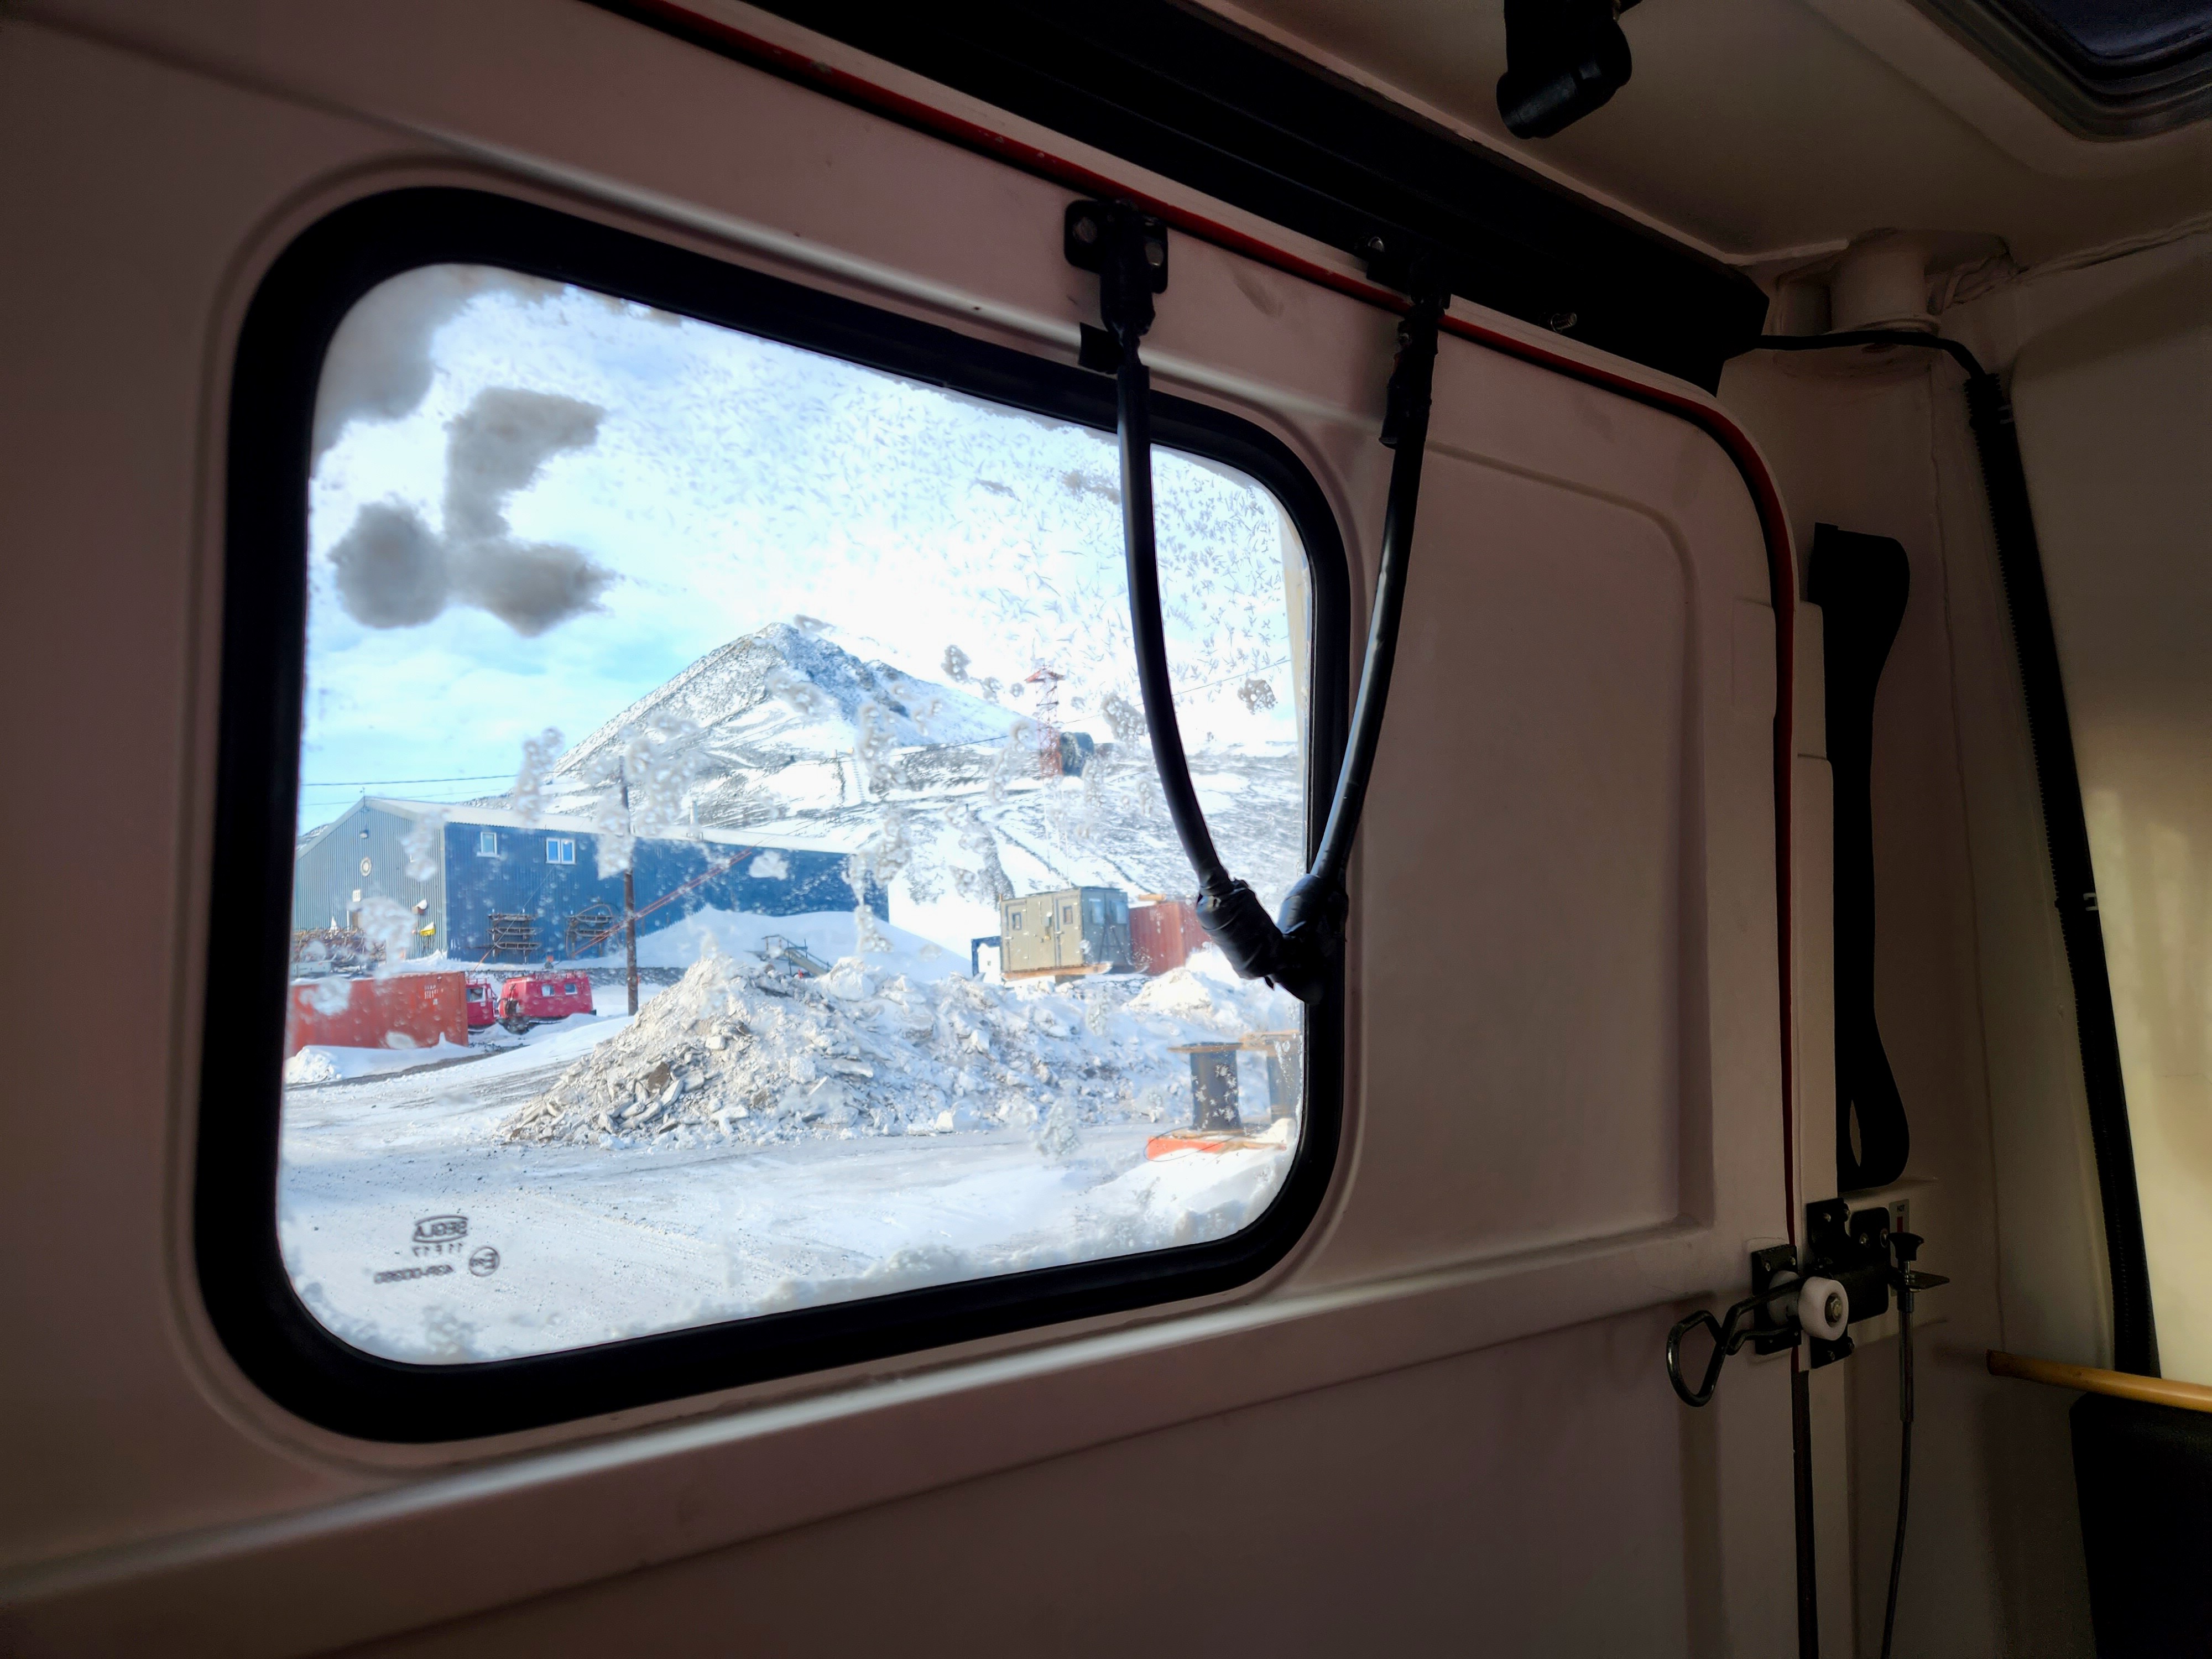

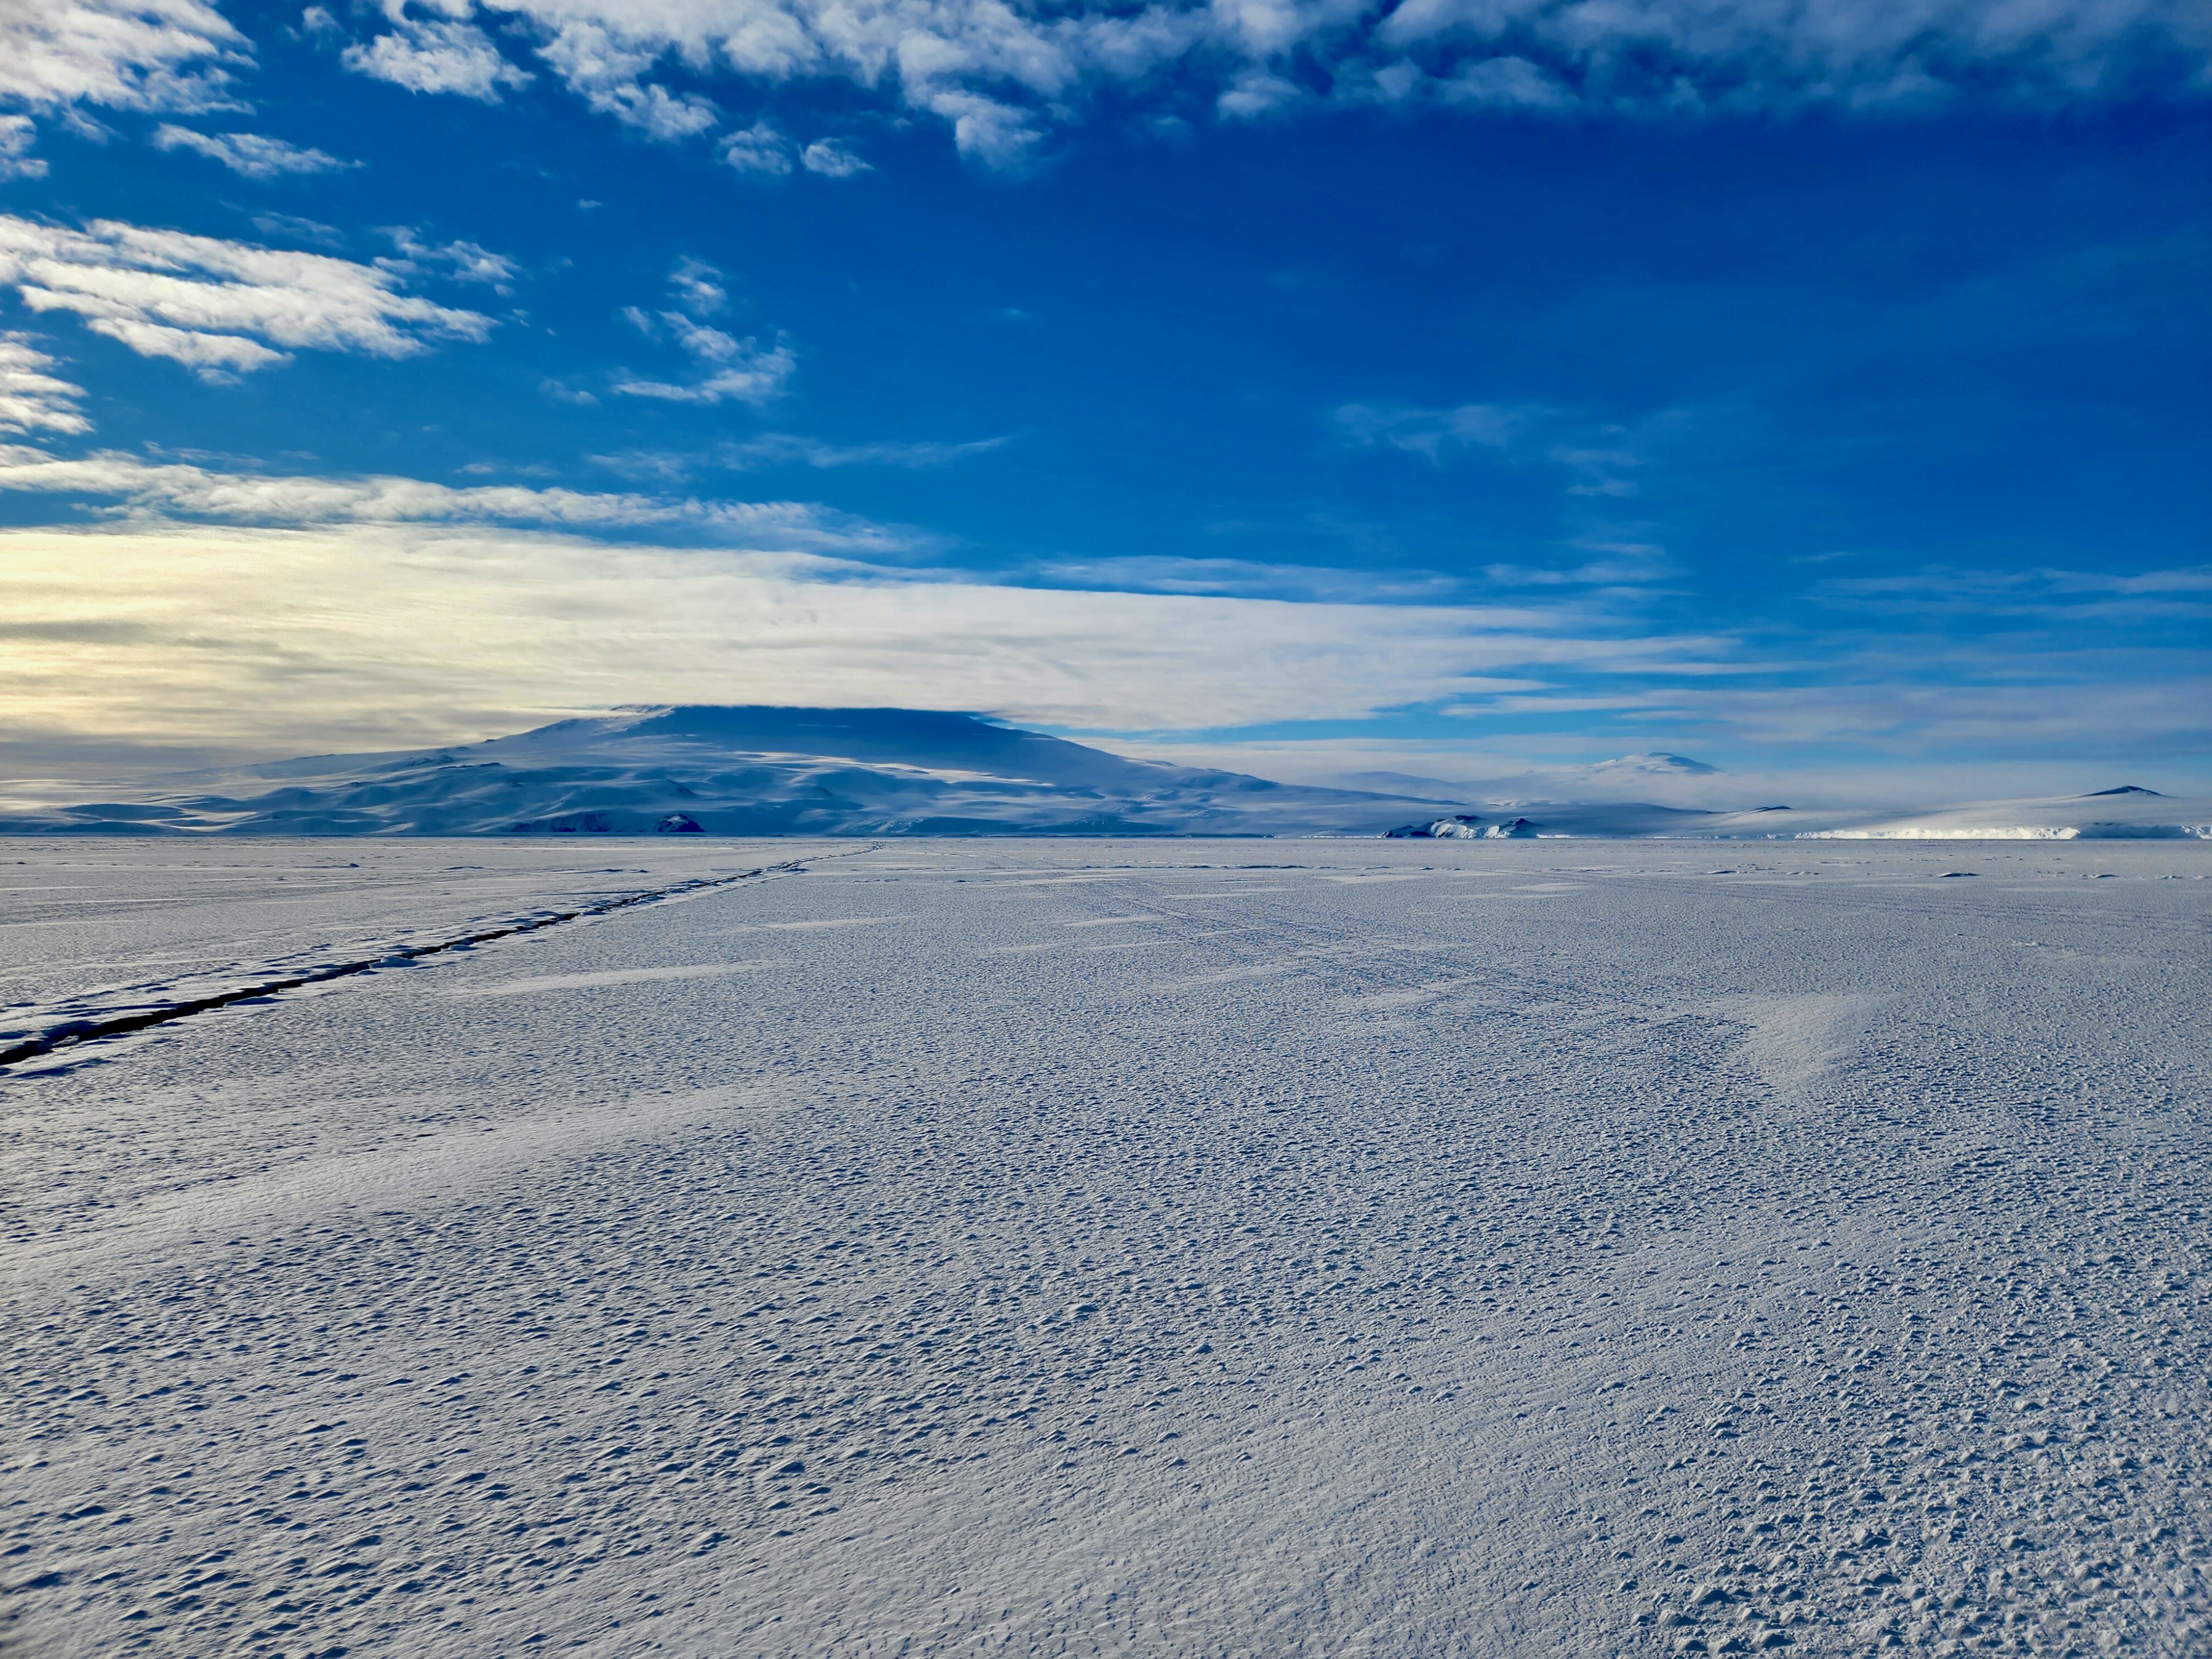
And soon we found ourselves out on the sea ice. Sea ice refers to the ice that forms and shifts throughout the year. This is to distinguish it from the ice shelf, which refers to more stable, fixed ice that extends out from land. The terminology is more nuanced to folks who work on this professionally, but that’s the gist of it.

We had the opportunity to see a number of sea ice cracks. Some were already mapped and were safe to cross, others were not safe and had shifted substantially even within the past couple days. Keeping tabs on the sea ice, and keeping the safe driving routes charted and flagged, is a full-time job for some folks on station.

To actually measure a crack, you need to know a few things. First is the thickness of the ice itself. Different vehicles require different ice thicknesses. If the ice around a crack is too thin for the type of vehicle, it doesn’t matter how wide the crack is, because the vehicle can’t safely drive in the area anyway.
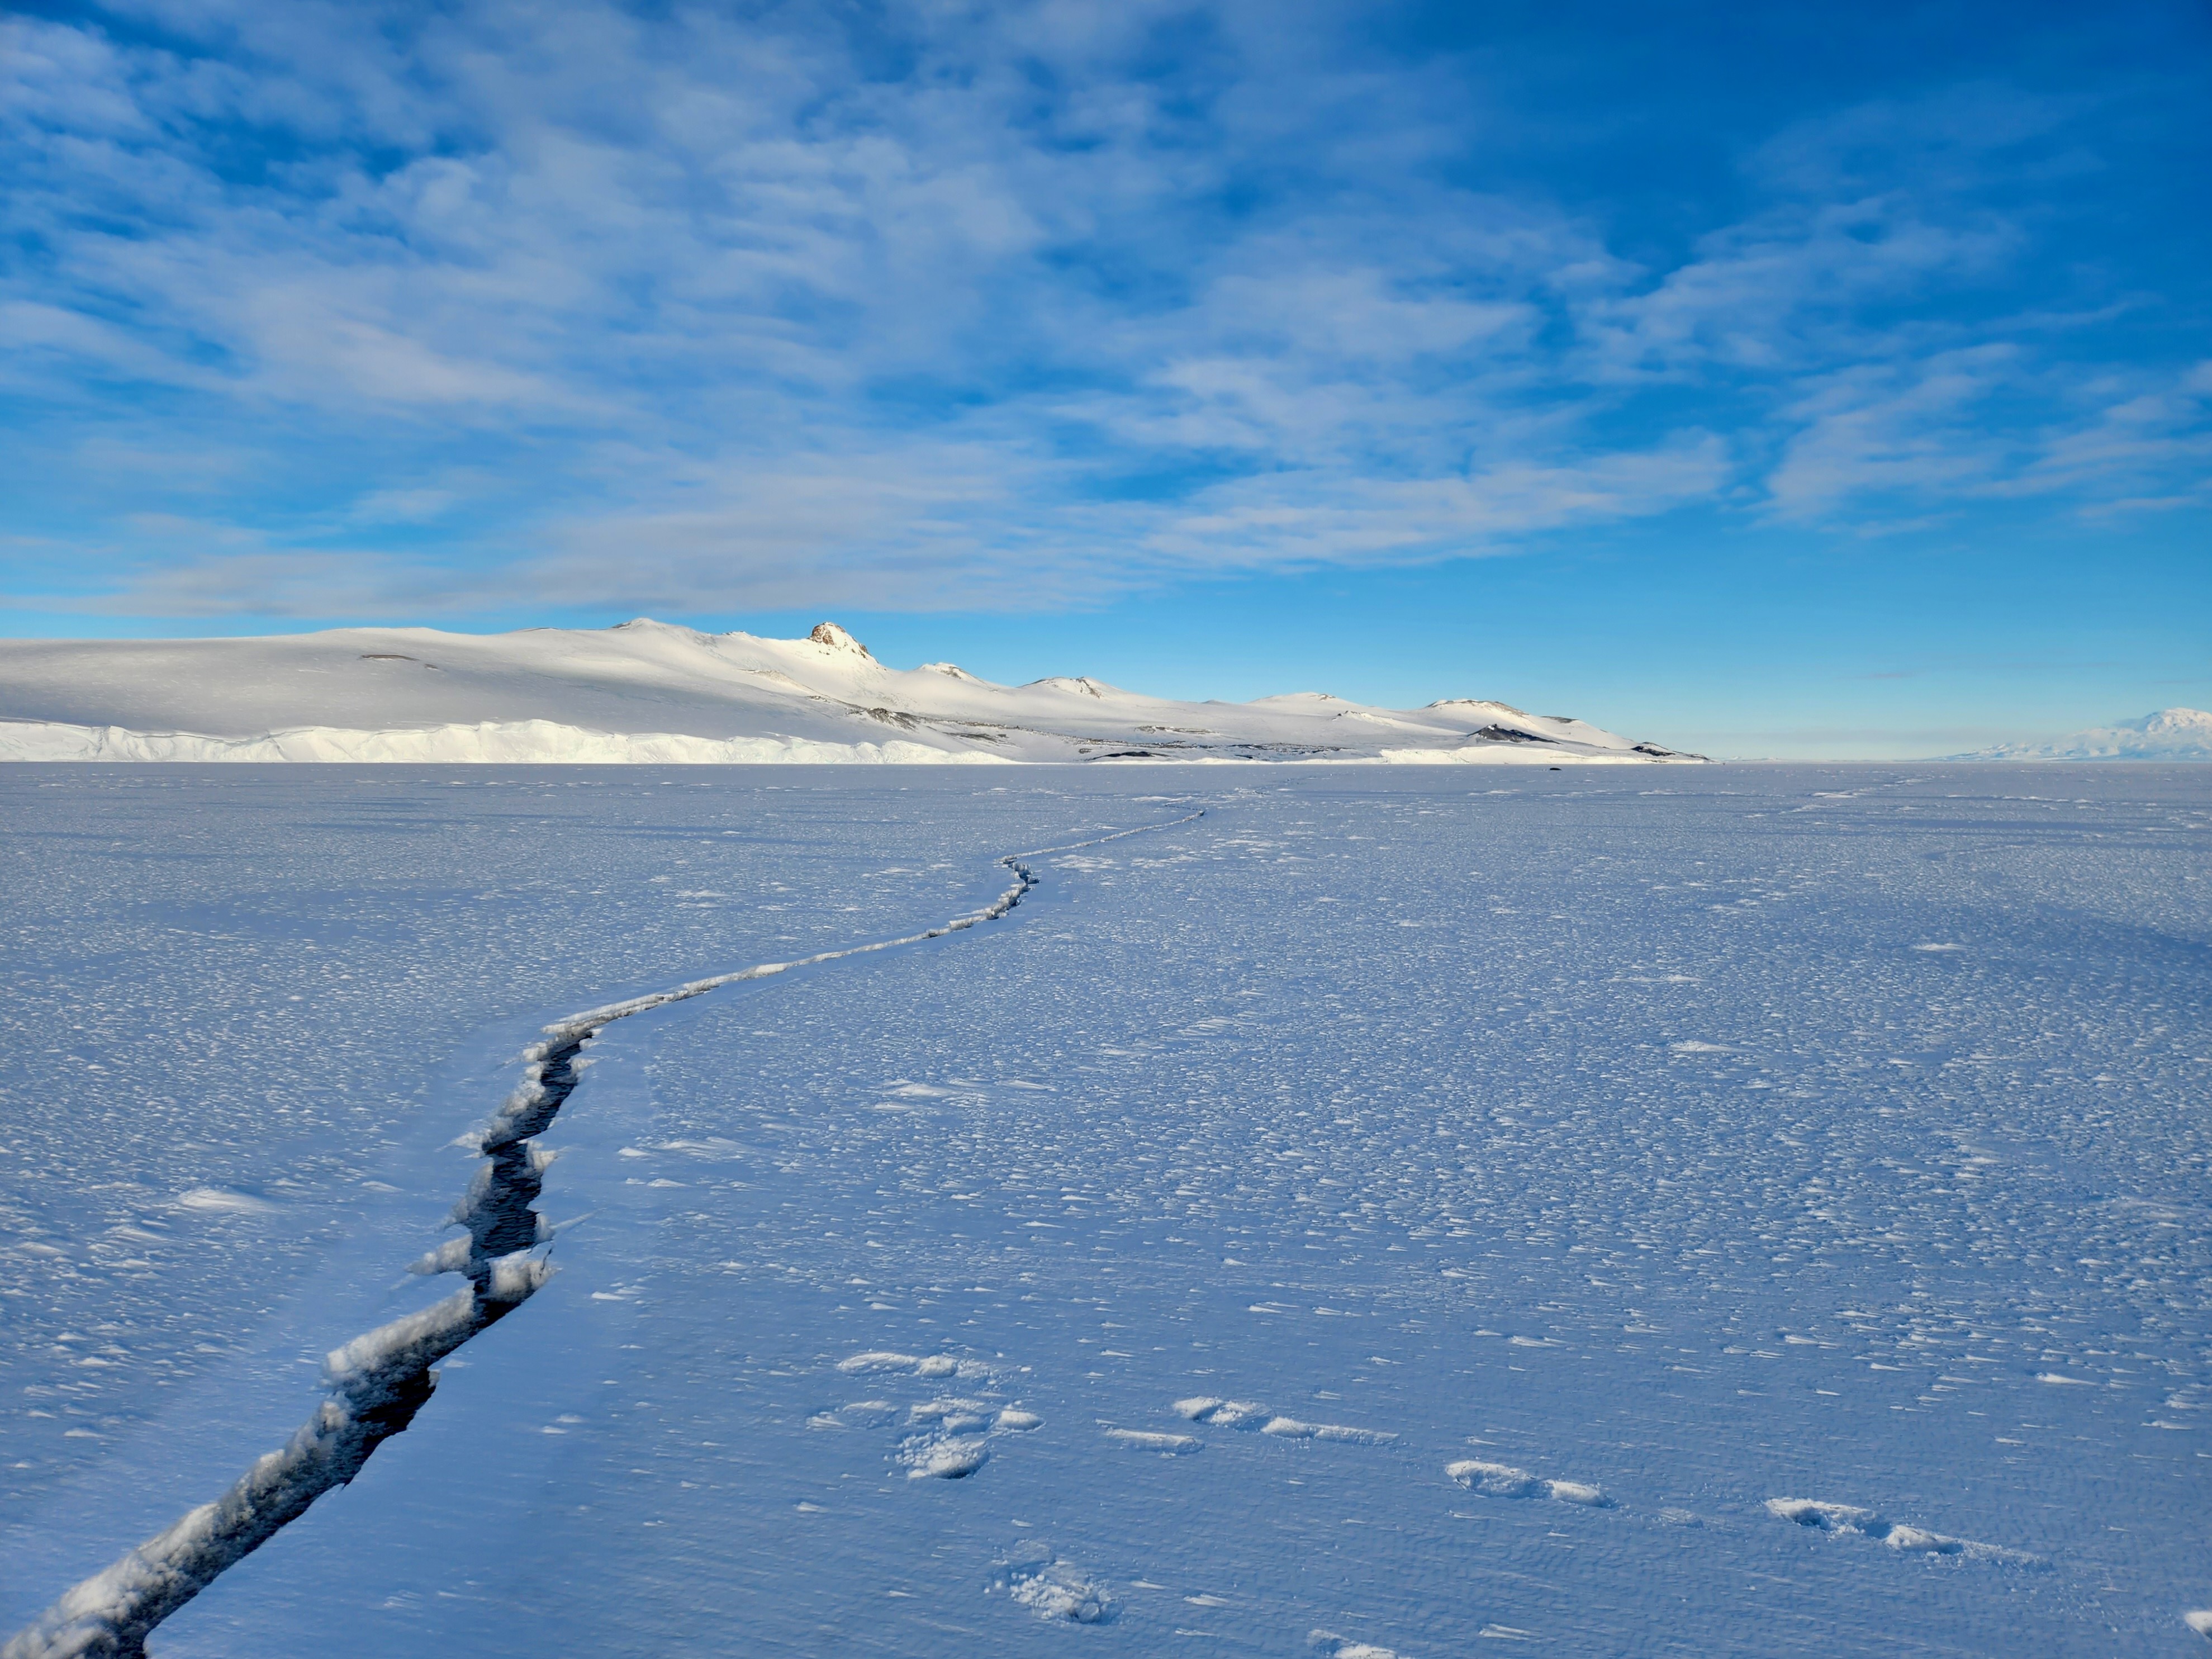
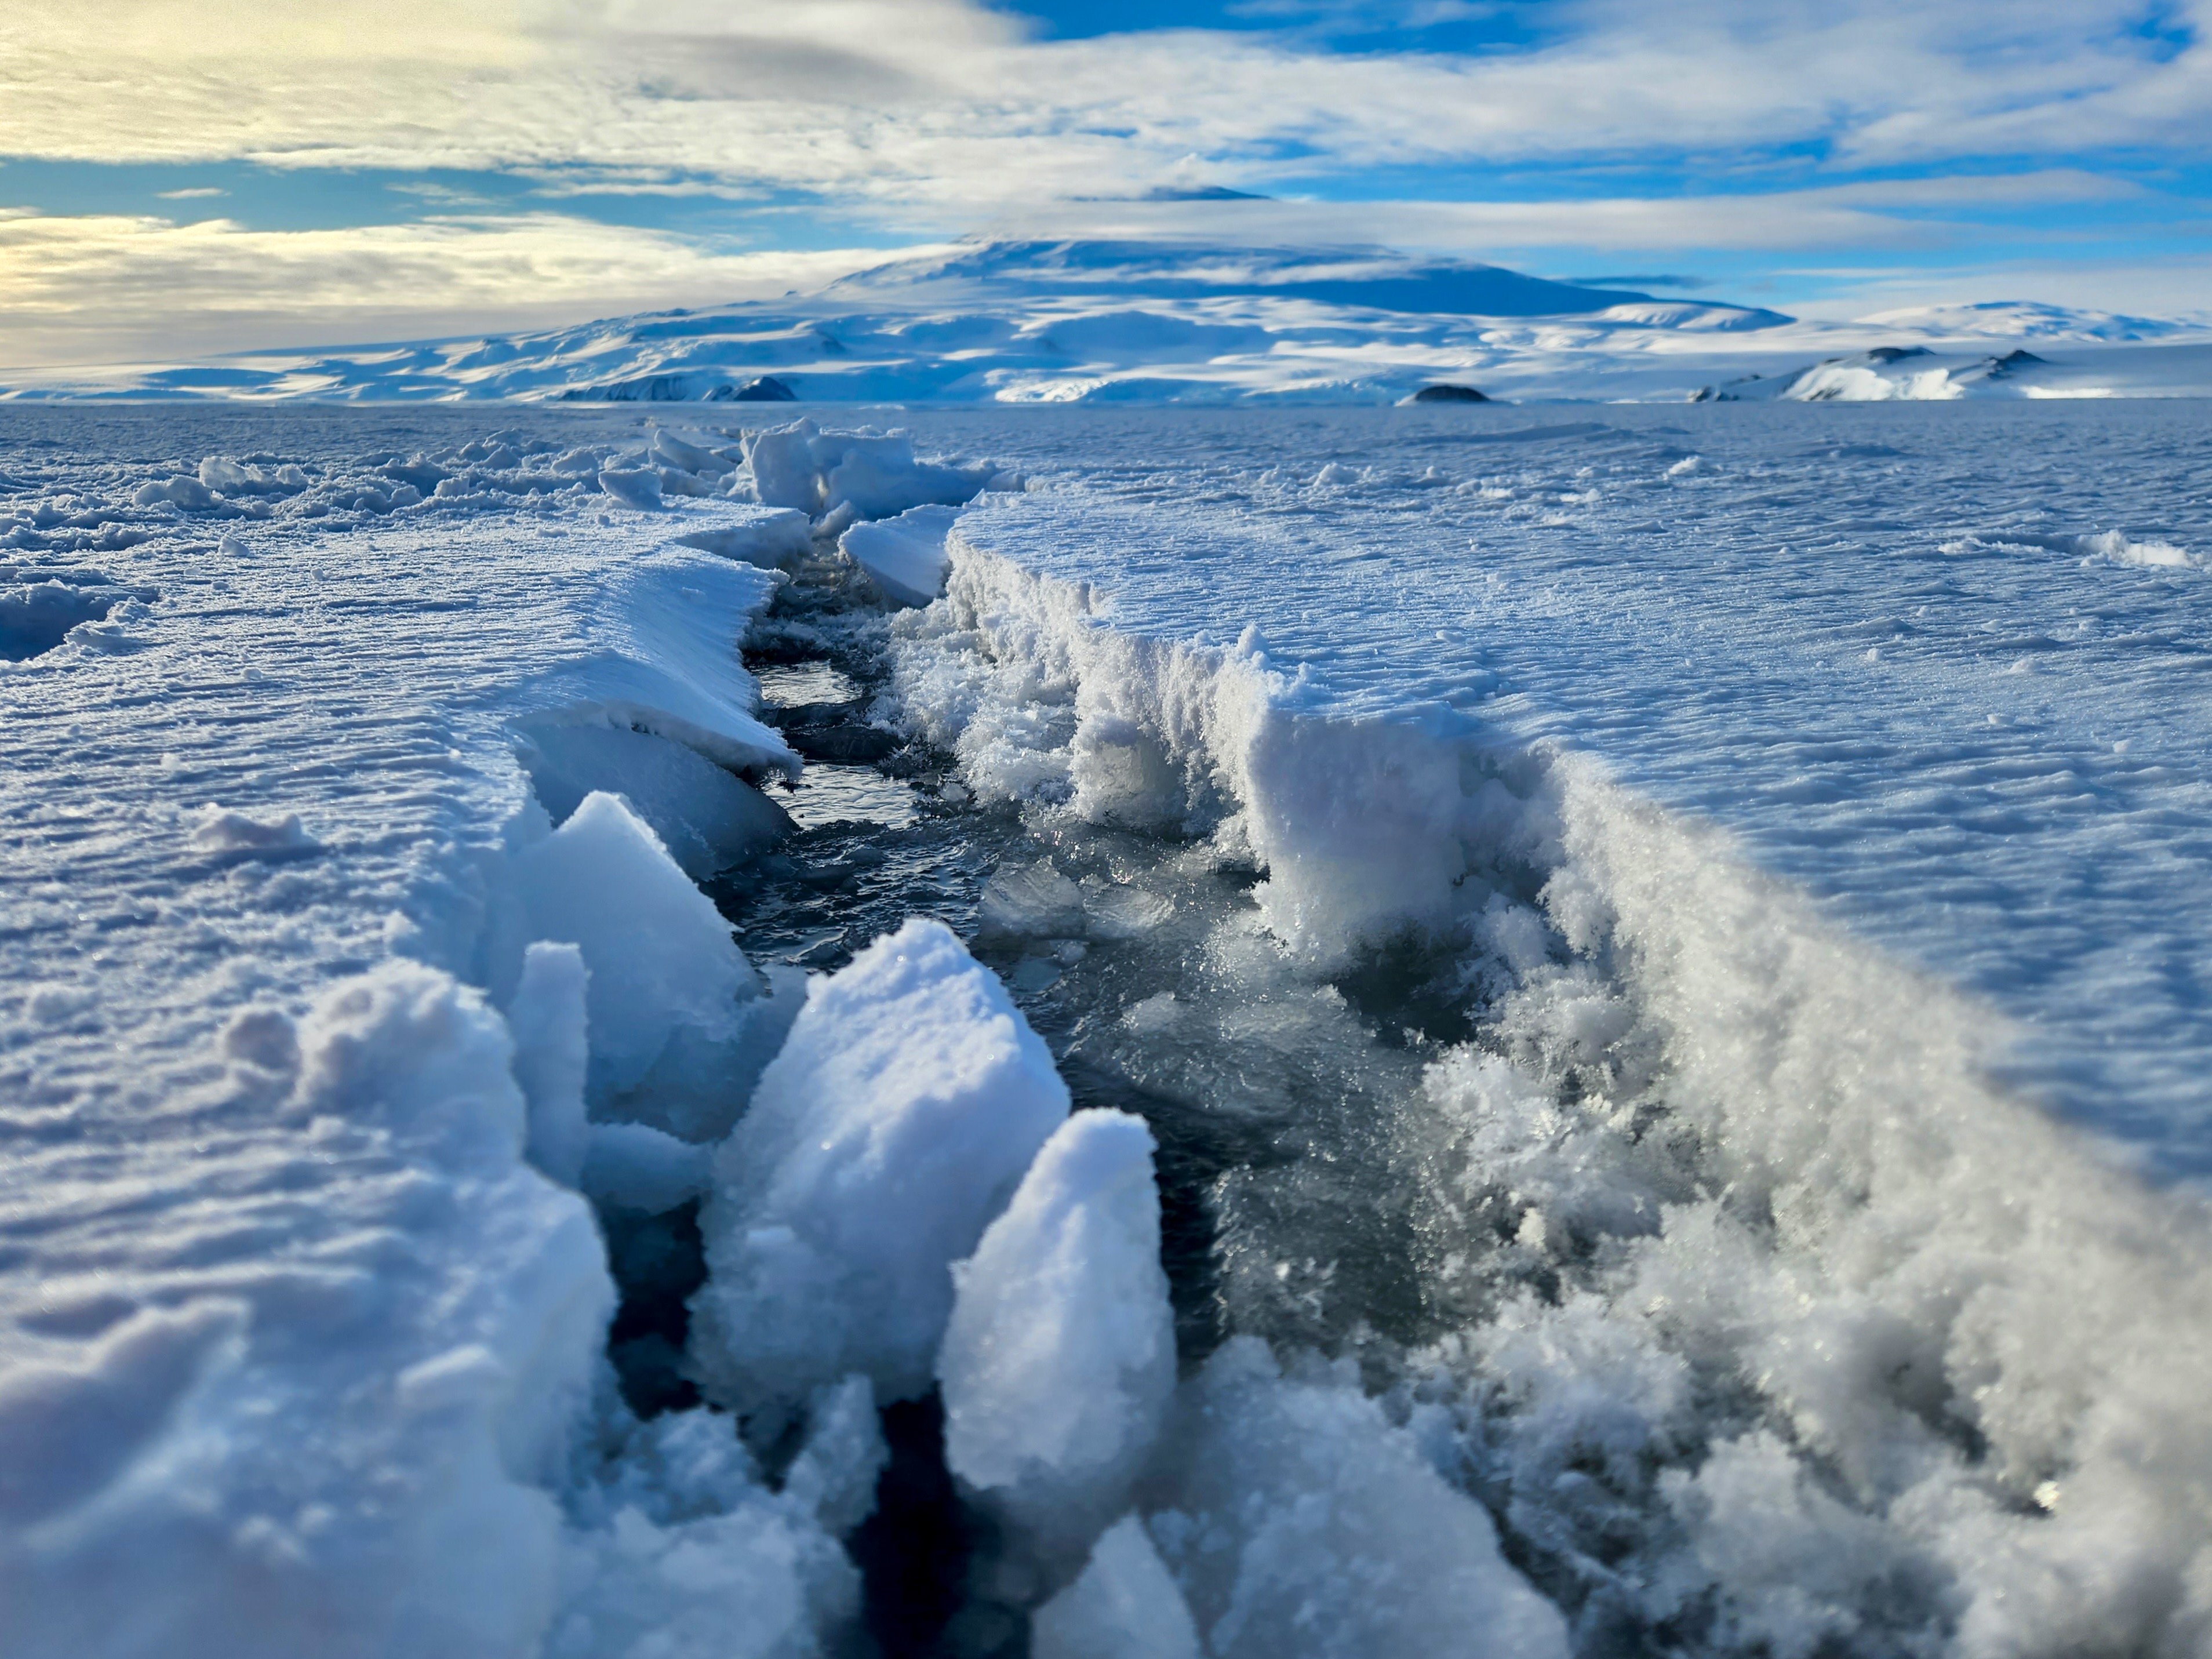
Here’s an example of a fairly recent crack. You can see crisp snow lines and open water. This is likely a recent development, possibly within the past few days:
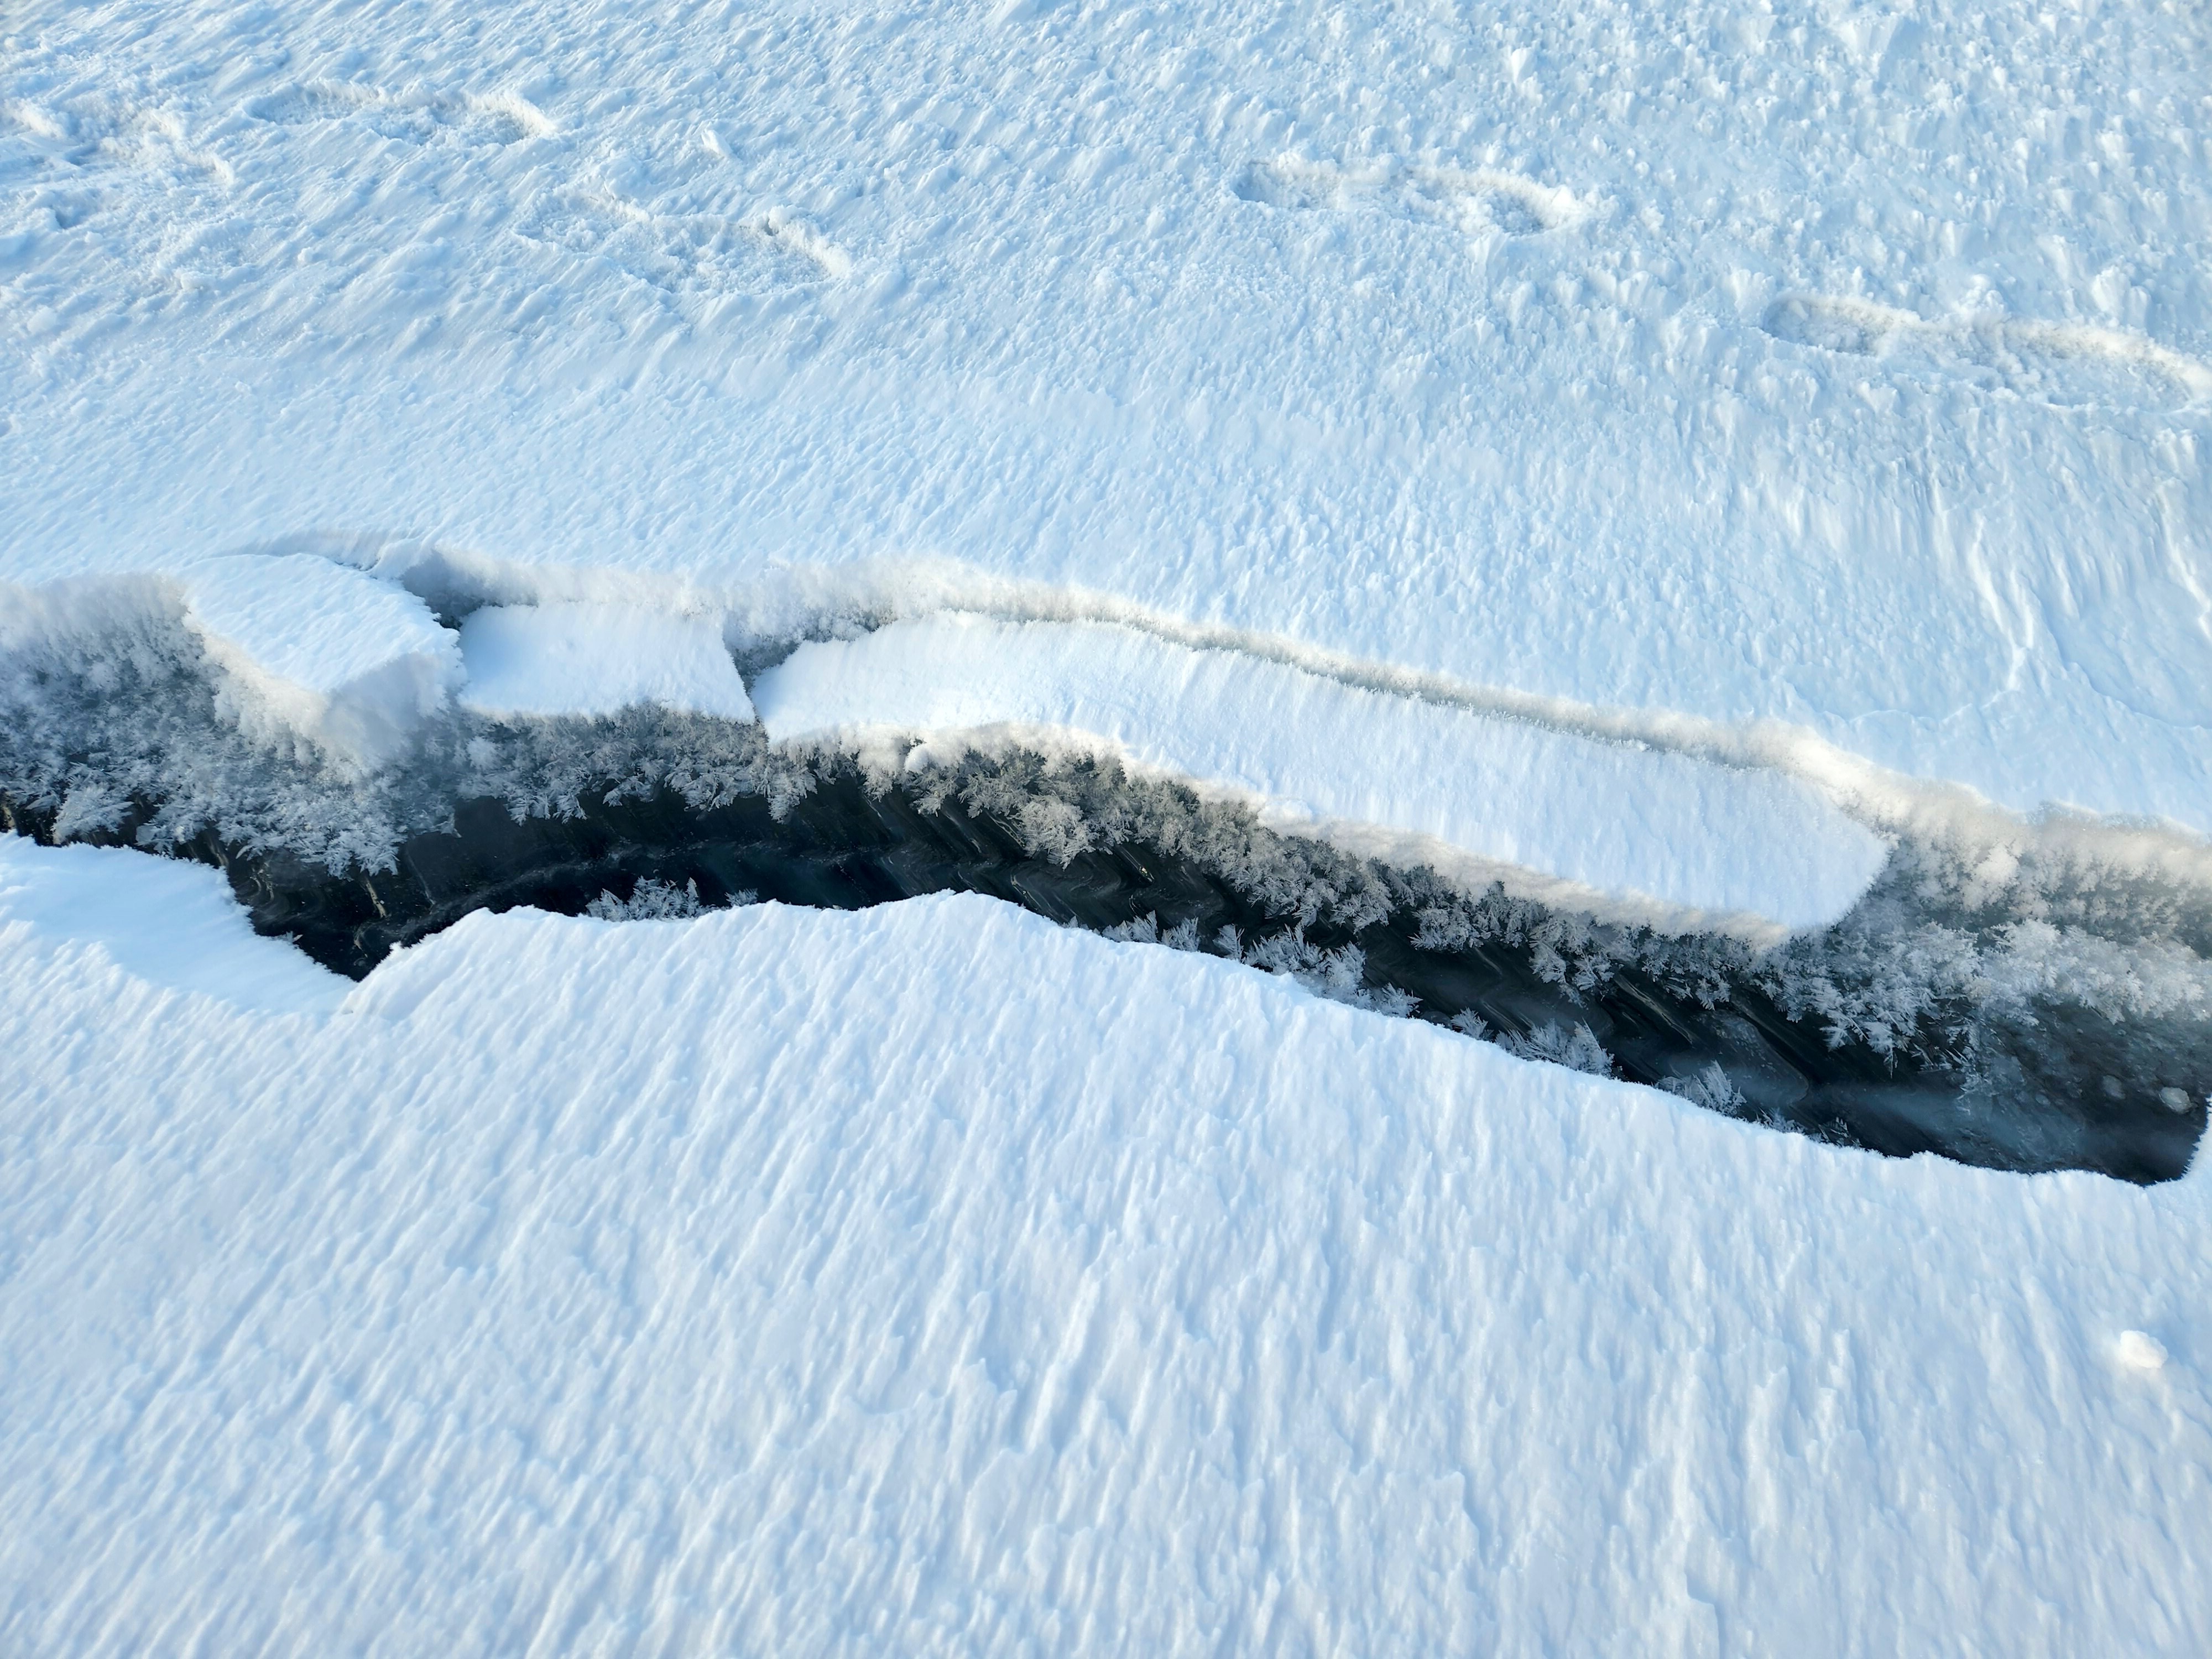
Some cracks are complex and have many spots that must be measured, as the crack re-freezes over time. It may be significantly wider than it first appears. Conversely, if a crack has re-frozen to a safe thickness, then it may be safe to drive over.
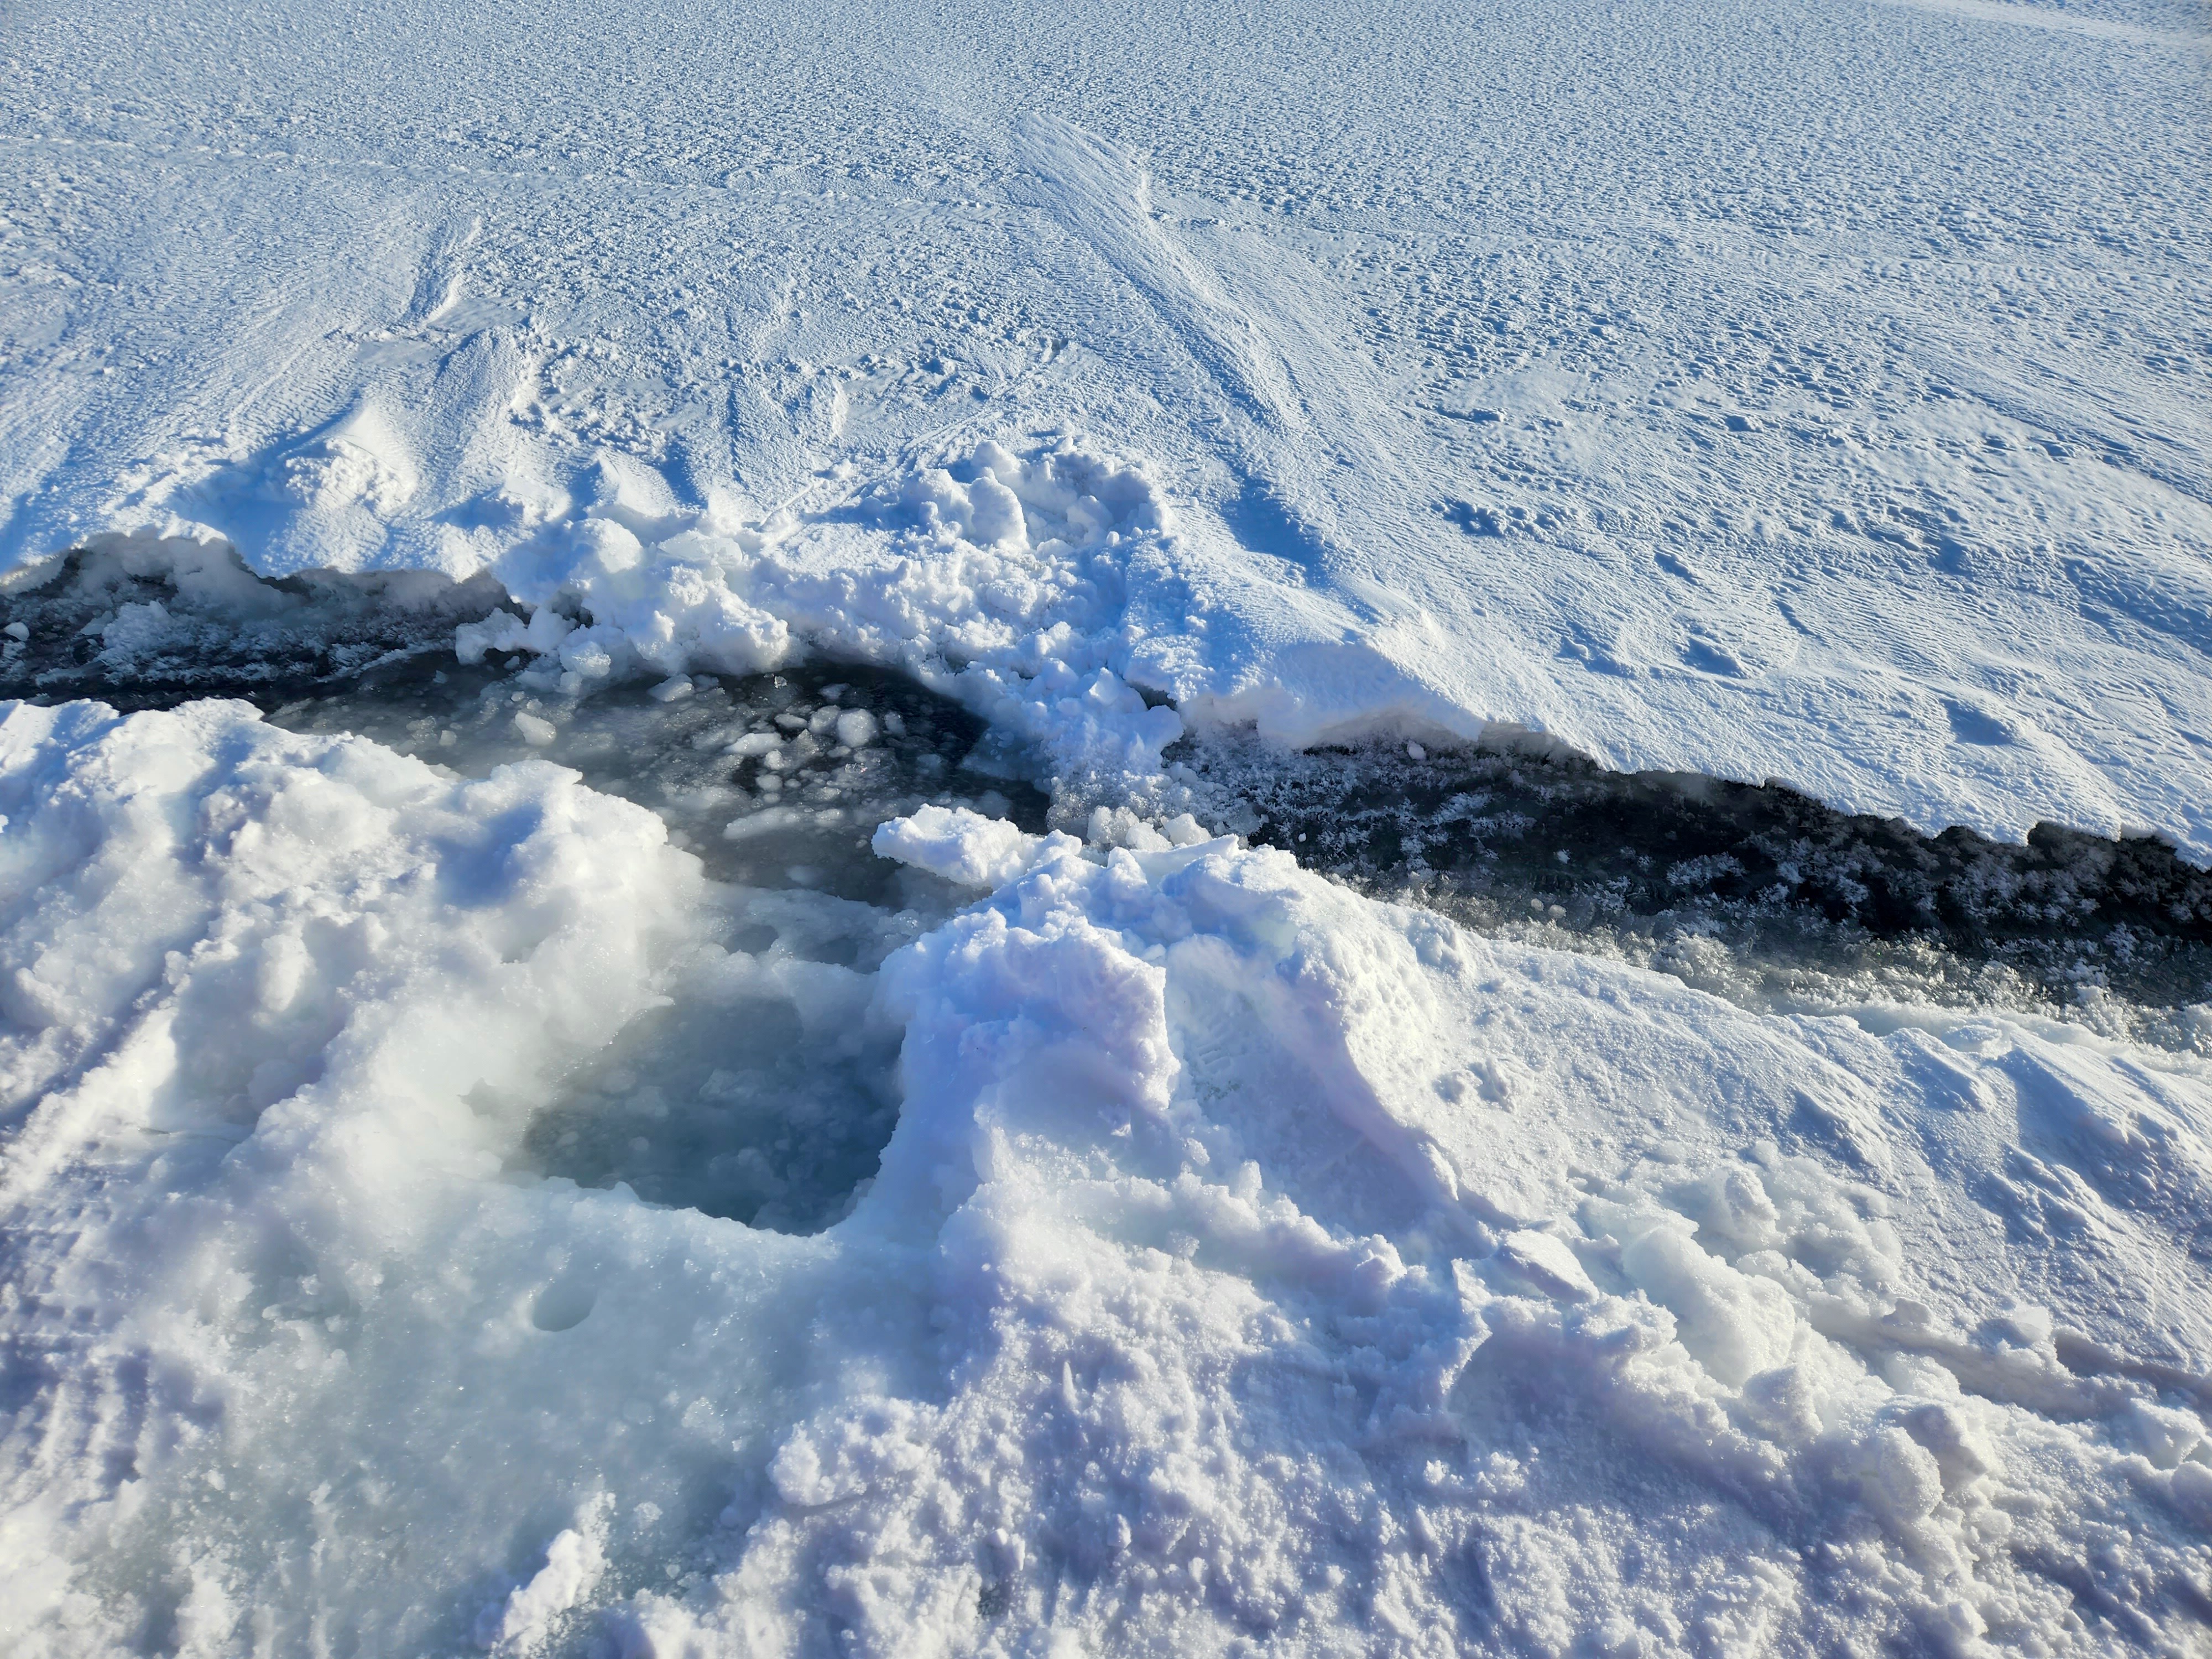
The first step is to find the edge of the crack. Snow may fall over the crack, and the crack may shift over time. Shoveling off the snow allows us to see the actual shape of the crack.
Next is to start taking measurements. We drill holes into the ice until we hit seawater:
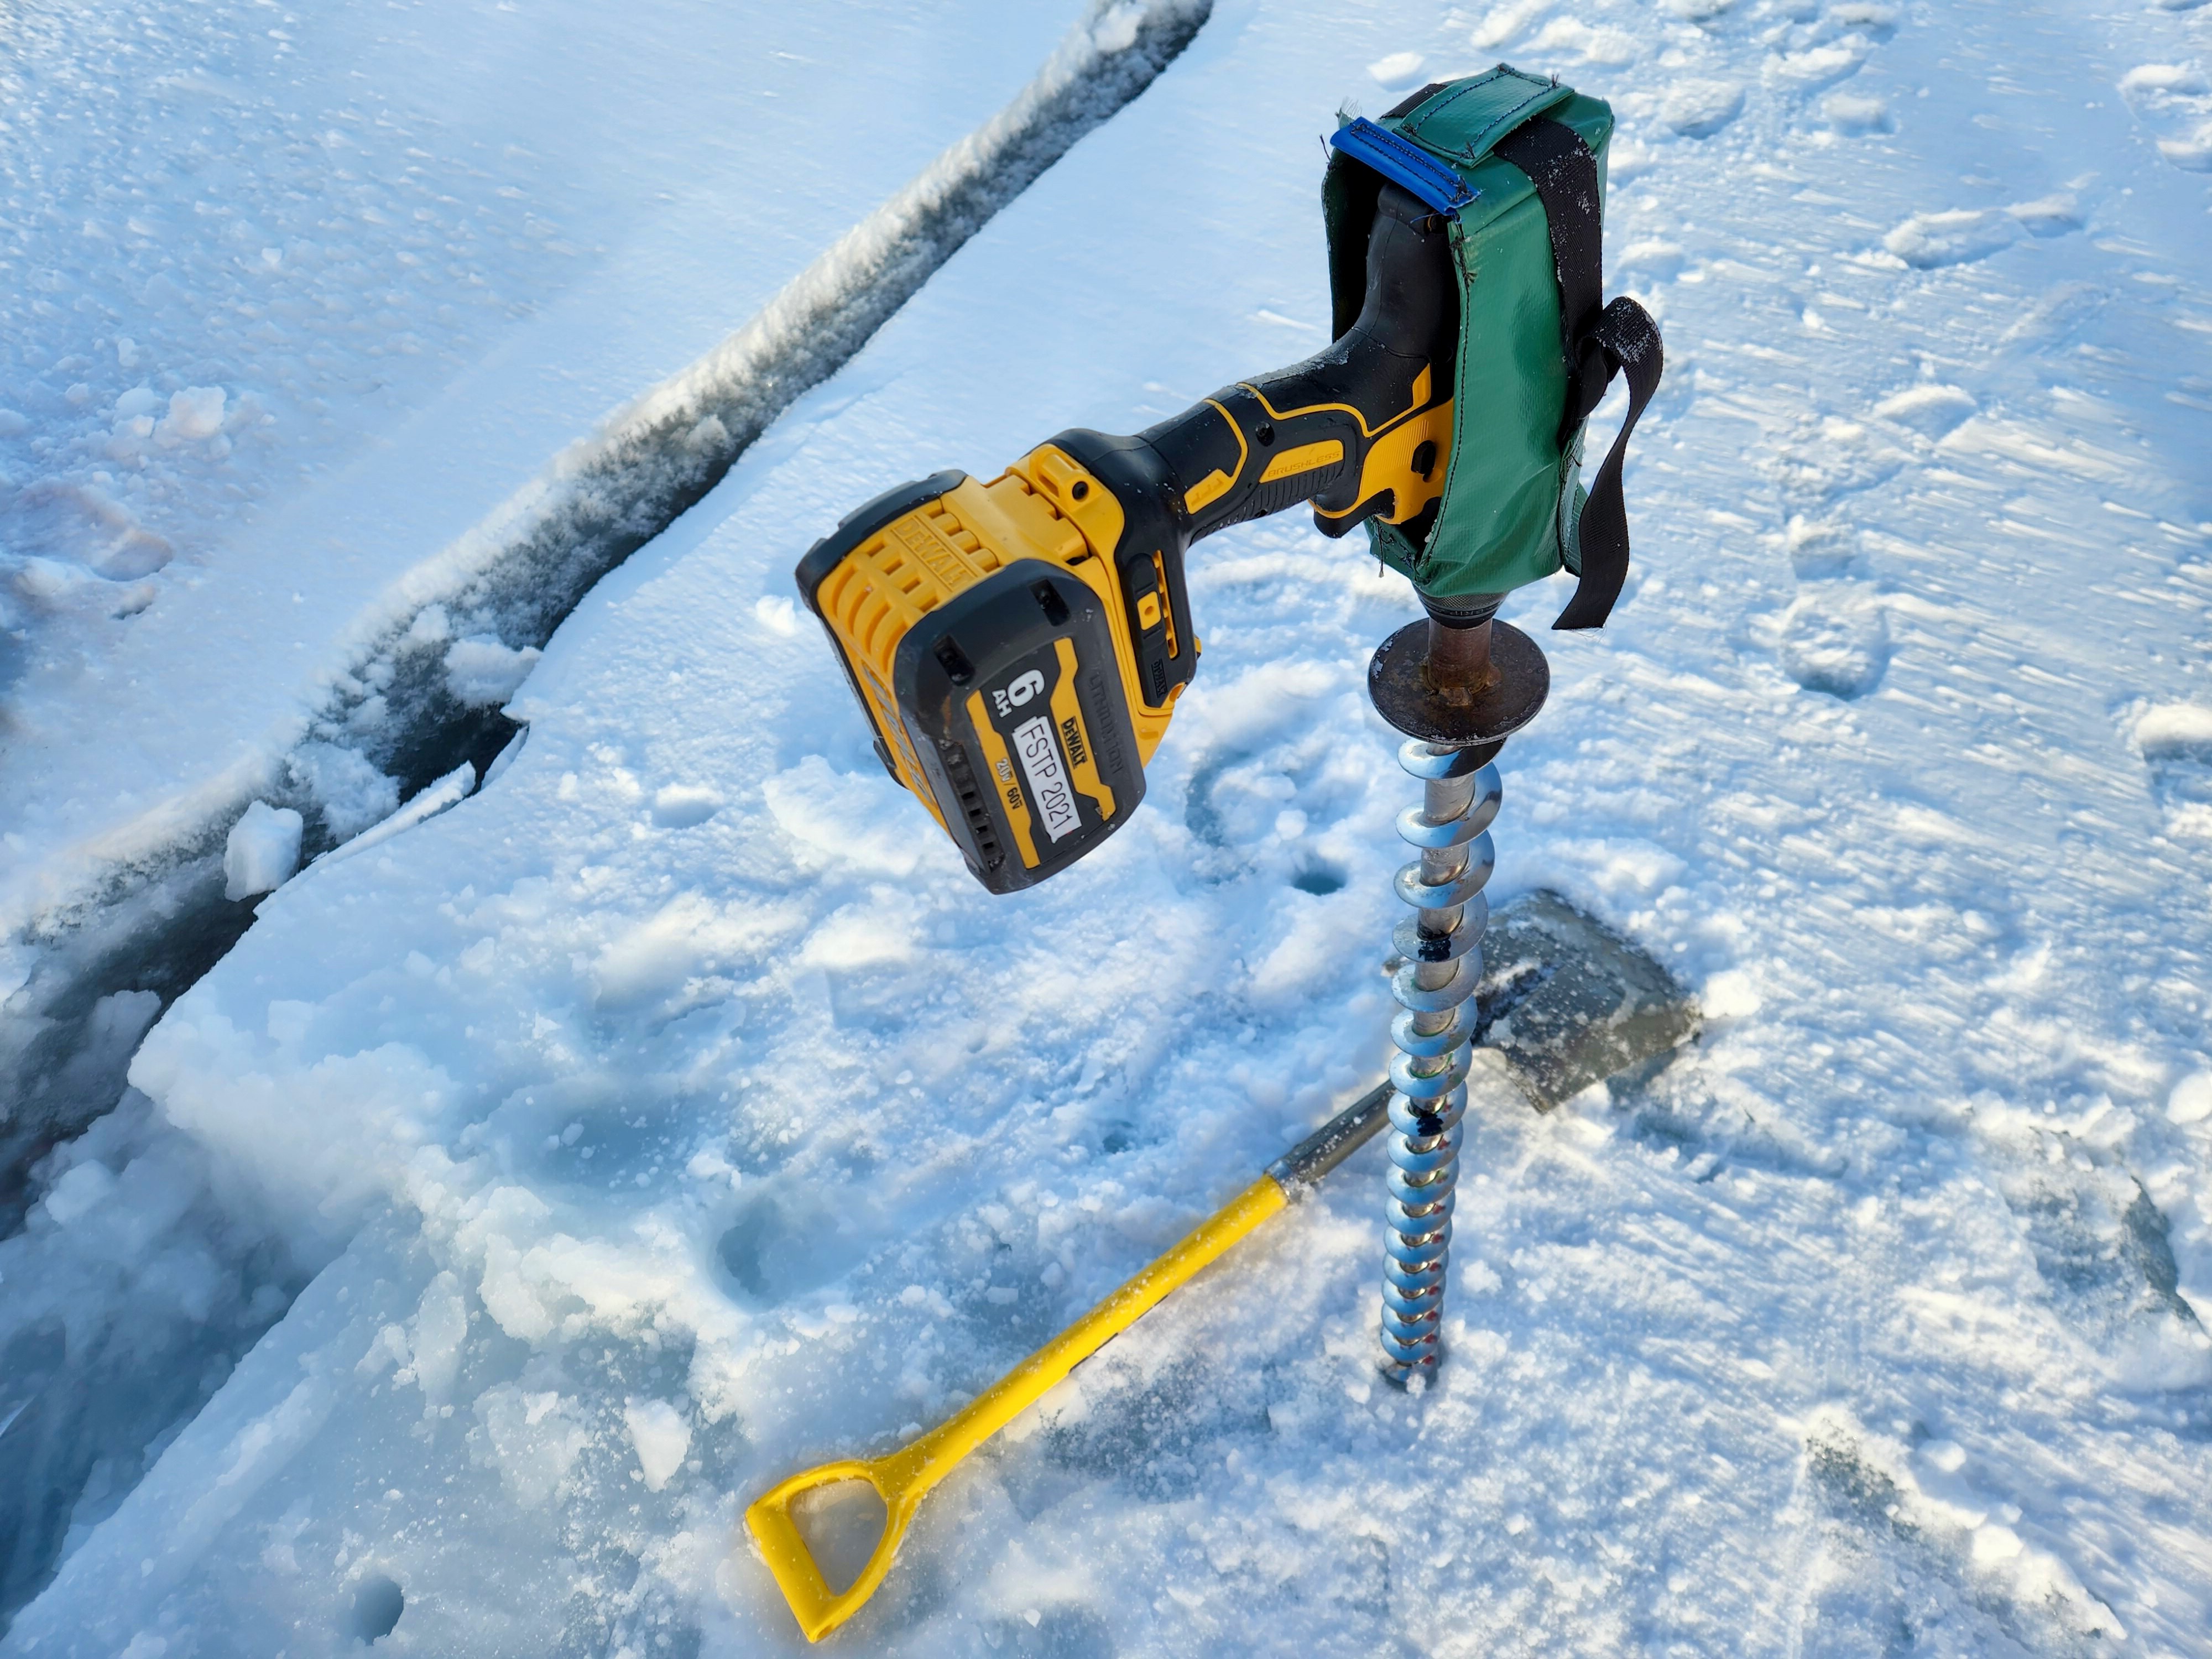

And then we measure the thickness of the ice using a measuring tape attached to a small metal apparatus that helps us feel when we’ve hit the bottom of the ice.
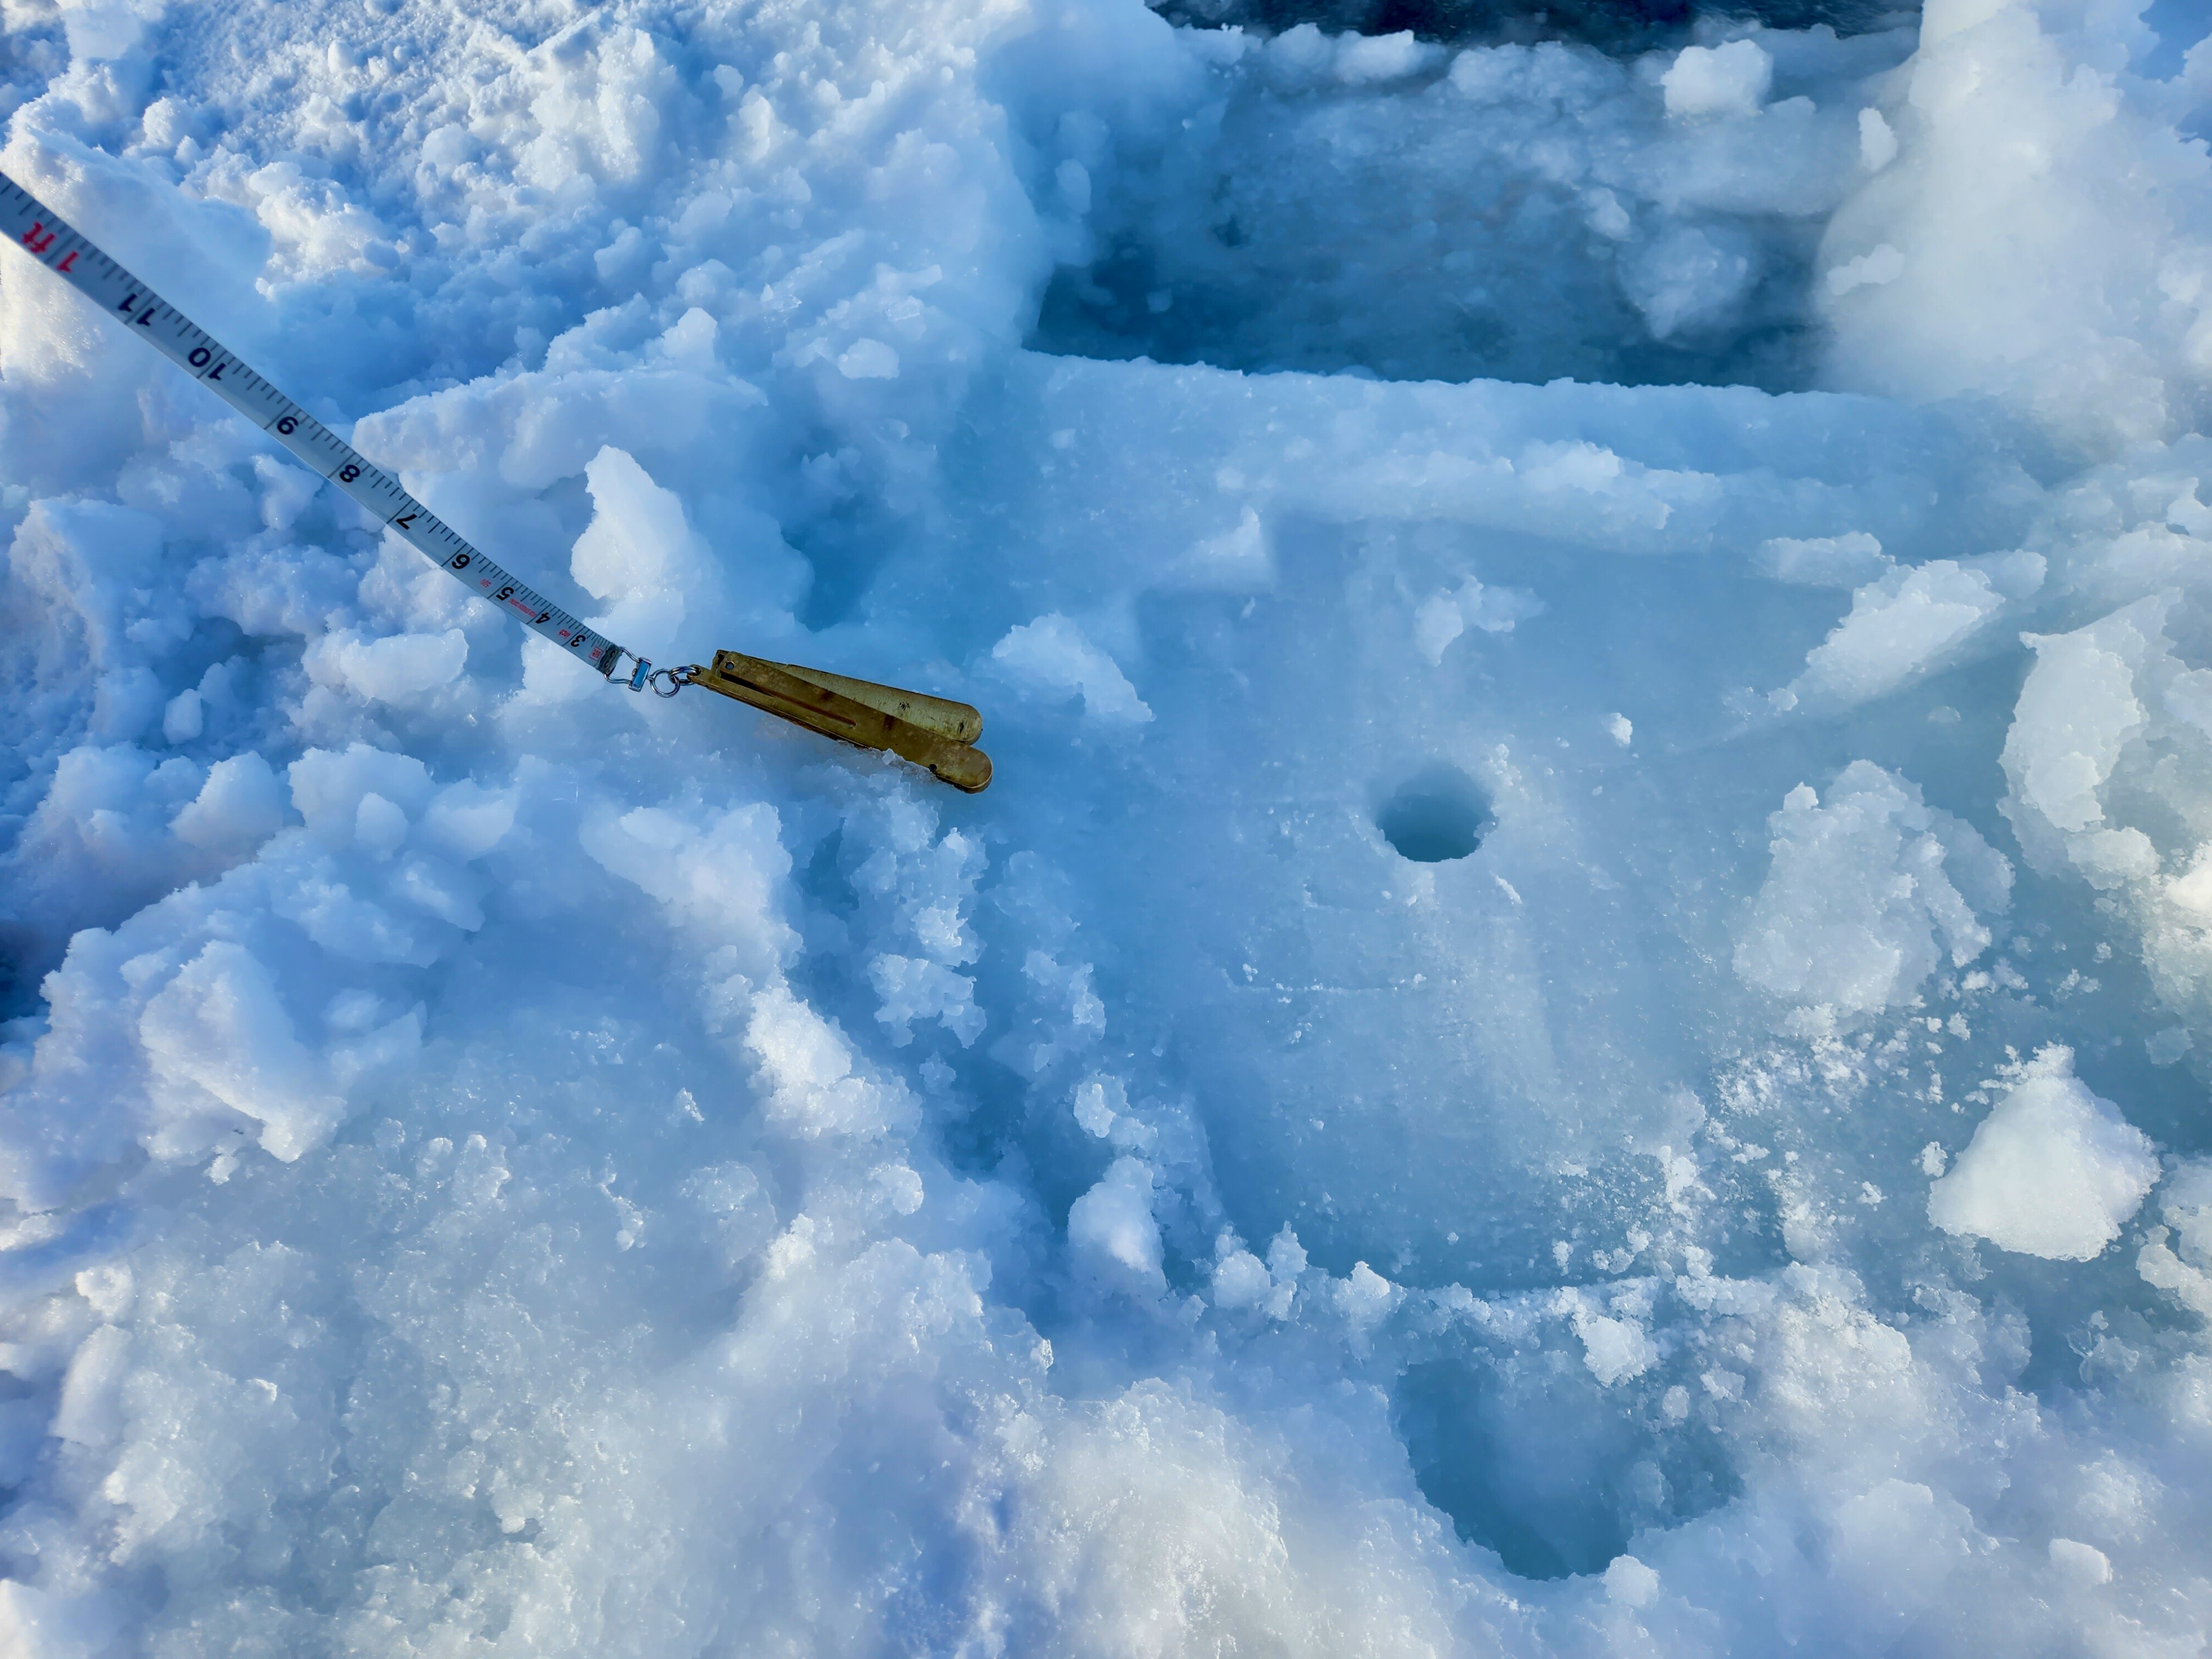
Here’s an older crack which has re-frozen:

You can see we’ve measured the ice thickness on either side. We also measure the width of the crack between the two known safe points, to determine the effective width of the crack. Based on this information, we can use our chart to see if it’s safe to drive a certain vehicle over it. We also record the data for future analysis, to track trends in the sea ice over time.
The scenery is beautiful. Here’s yet another crack, with mountains in the background:
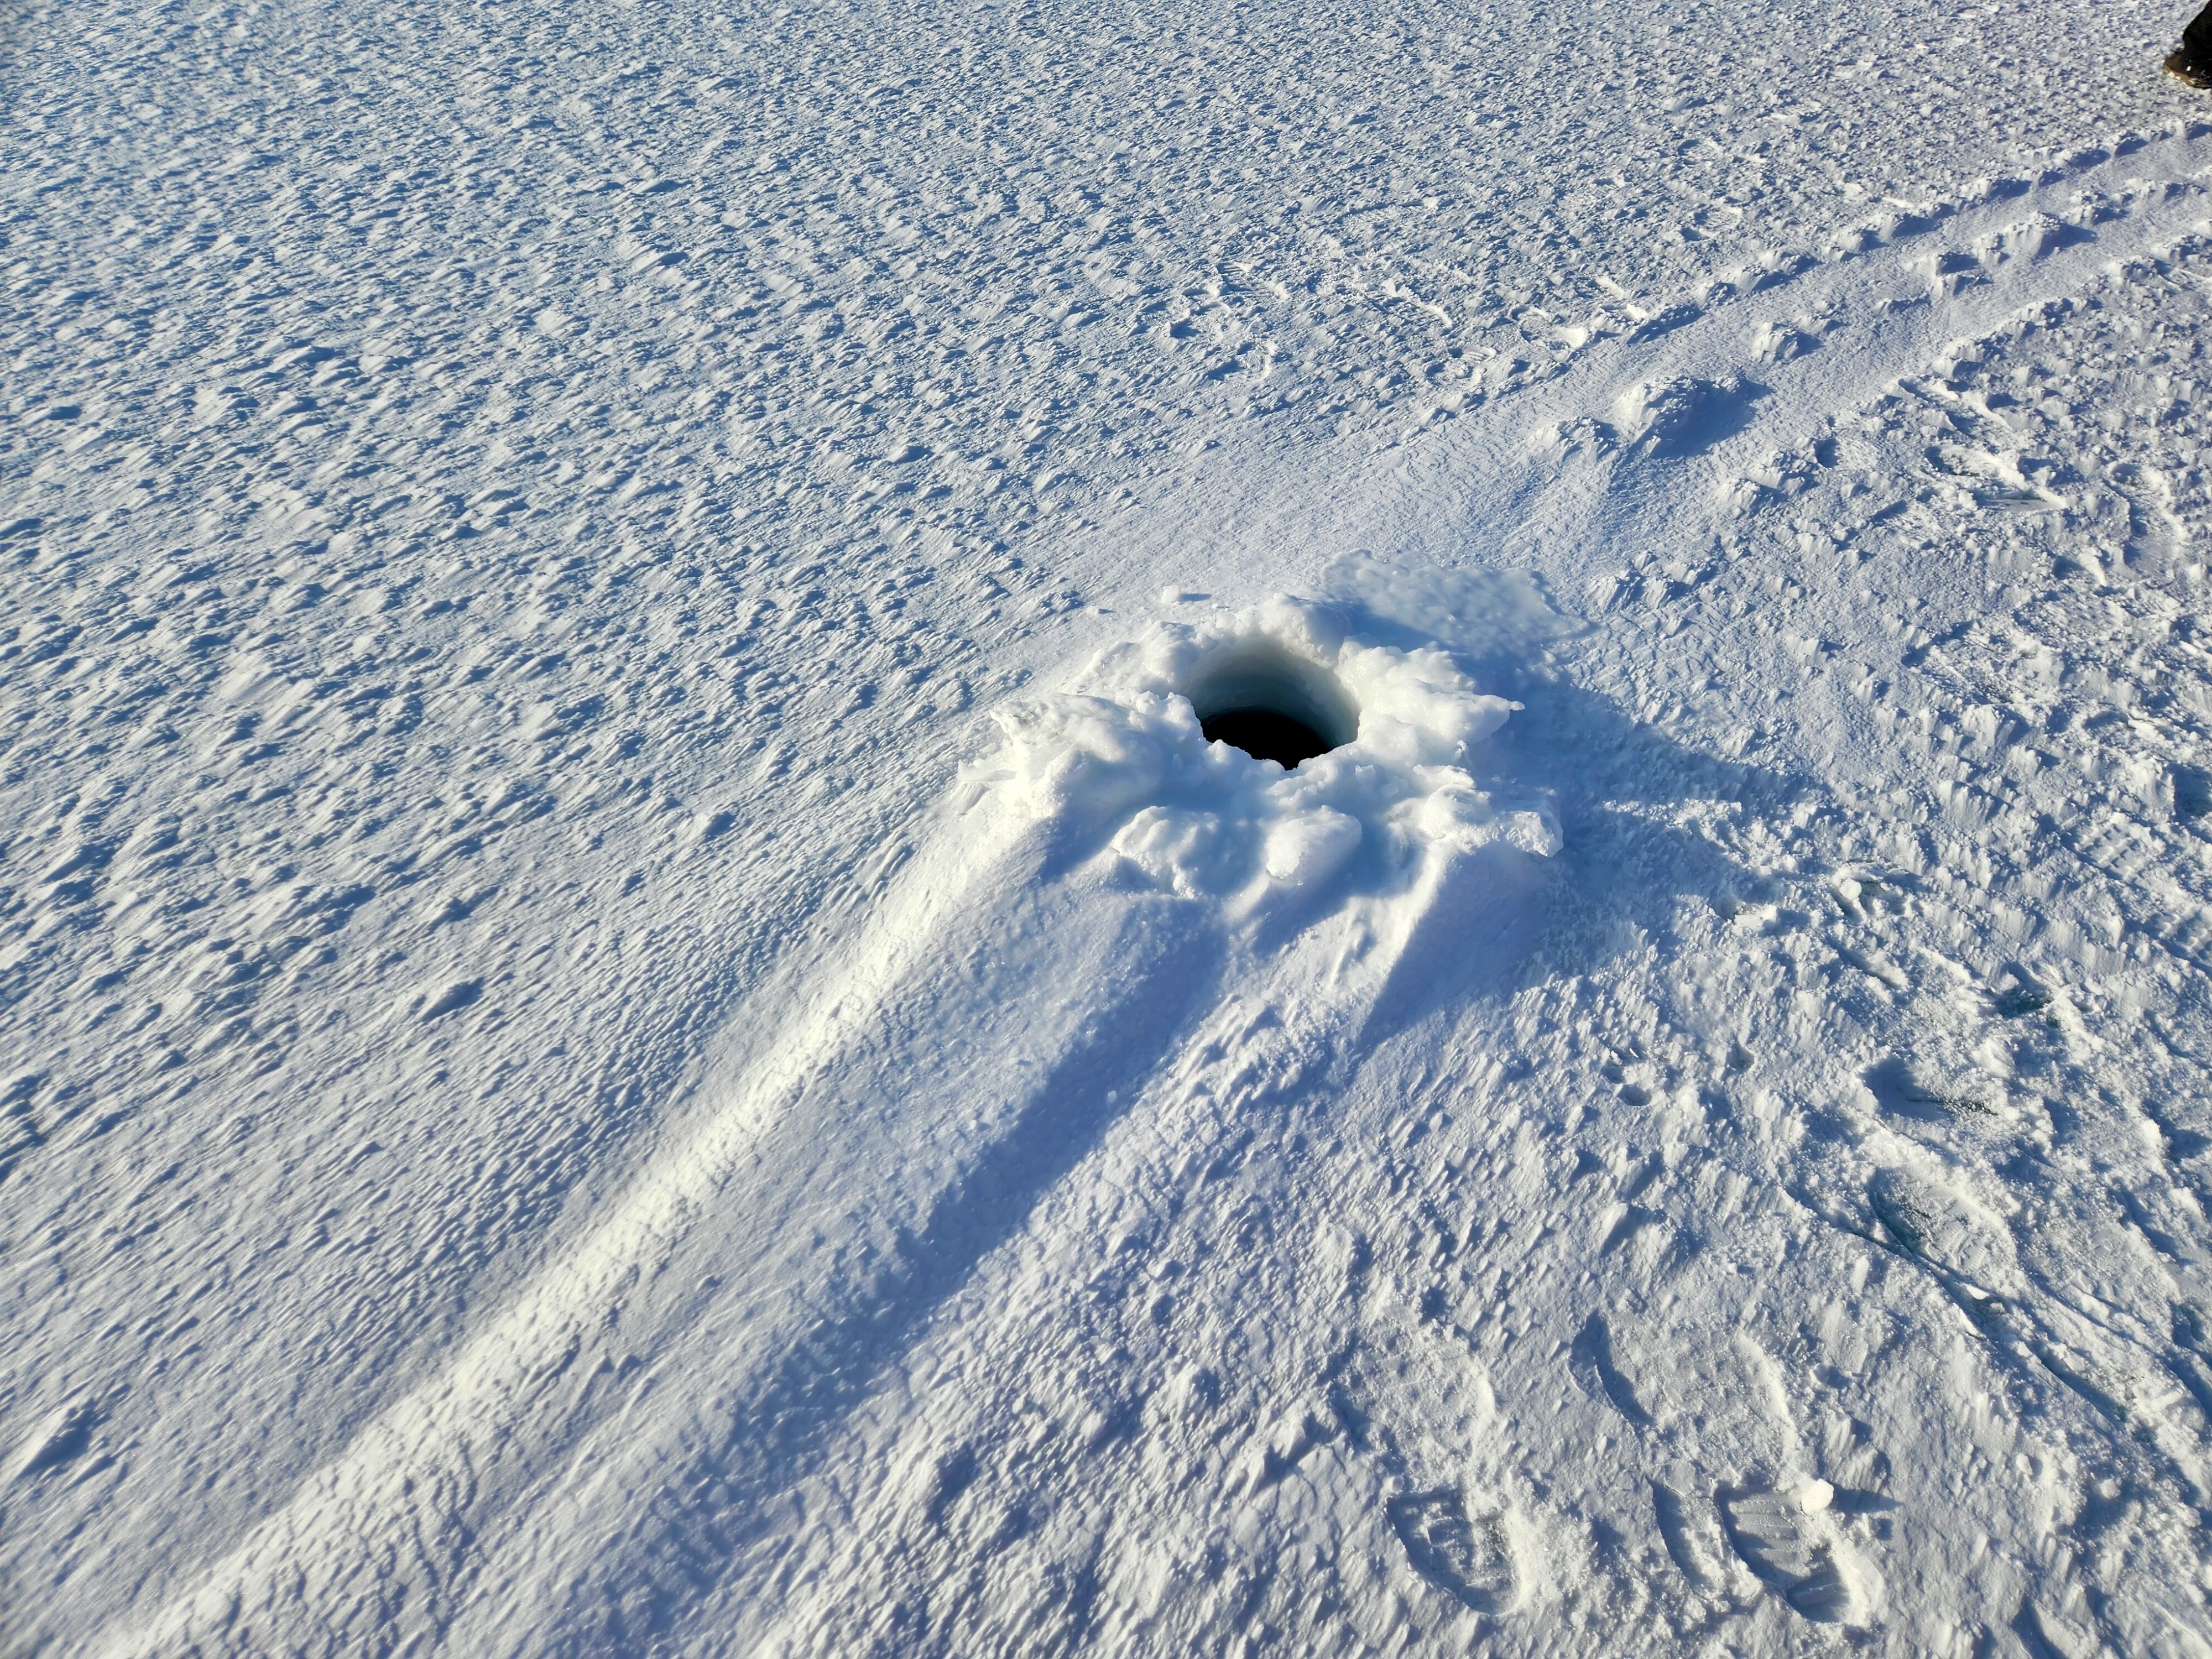
While we were out there, we also saw some holes used by seals to get out of the water and onto the sea ice. Seals will use cracks that already exist, and if a crack isn’t fully open, they will chew their way through to the surface. I don’t have a photo, but we did see a seal briefly pop its head up through one of these holes. Needless to say, we kept our distance in case a seal decided to use this hole while we were nearby.
This was a super cool day trip, and to date the most “Antarctica” thing I’ve gotten to do.
Most of my day is doing IT work that doesn’t look much different from work back home, but there are always things happening nearby to remind us of where we are. Just a few hundred feet from where I’m working on a computer, there are field safety teams out profiling sea ice cracks.
Until next time!